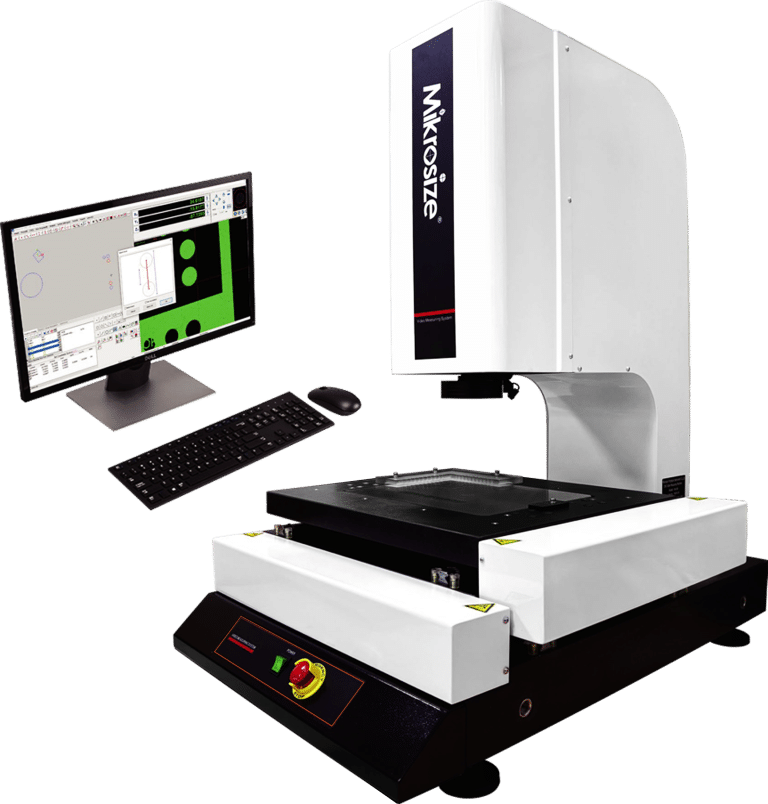
Today we’re diving into one of Mikrosize’s most practical metrology tools — the VME-VMK series CNC Video Measuring System. Don’t be intimidated by its industrial-grade appearance. This automatic optical video measuring instrument is far more user-friendly than most people expect once you learn the core workflow and handy operation tips.
When you first unbox and set up this CNC video measuring machine, you may feel slightly overwhelmed by the hardware at first glance. But there is no need for anxiety. Simply connect the power supply, boot up the unit, and wait for the display to load. Once the interface shows up, you are ready to start your precision video measurement tasks.
Before you begin any measurement run, complete this important pre-operation check: Clear all debris and foreign objects off the measuring worktable. Gently place your test workpiece onto the table surface. Try to keep the workpiece sitting flat and level. This simple preparation step drastically improves measurement accuracy for your final inspection results.
Mikrosize designs its human-machine interface with operators in mind; navigation feels intuitive, similar to operating a smartphone. All menu icons are self-explanatory without over-complicated technical jargon. To start inspection, select Measurement Mode from the main menu. Multiple options are available including 2D measurement and 3D measurement. Just pick the mode matching your workpiece inspection requirements.
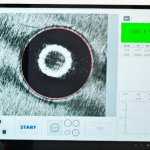
Let’s walk through a typical 2D dimensional measurement workflow. After selecting your target mode, use the joystick controller to move the optical lens, aligning it precisely over the feature you want to inspect. The high-resolution lens on the VME-VMK CNC video measuring system captures fine surface details sharply. Next select the appropriate measurement tool on-screen: common choices include line measurement and circle measurement.
-300x163.jpg "Mastering the VME-VMK CNC Video Measuring Machine in 8 Minutes: Beginner Operation Guide 3")
Take line measurement as an example: click the two endpoints of the target feature directly on the live preview screen. The system instantly computes dimensional readouts such as length and included angle. It’s that simple for routine part inspection.
What about parts with complicated profiles? No problem at all. The built-in metrology software supports multi-point contour fitting for complex-shaped workpieces. It automatically generates all relevant dimensional parameters for irregular geometries. You can perform real-time measurement data saving throughout your test. After finishing inspection, you can review or export measurement reports whenever needed, perfect for quality control analysis.
Here are practical operating best practices: Adjust the illumination brightness to reveal finer workpiece features. Proper lighting adjustment is key to stable optical measurement accuracy. You can increase or decrease light intensity with one-click controls located right on the software interface.
One final reminder after completing your inspection jobs: Power off the CNC video measuring instrument properly and wipe down the measuring worktable. This routine maintenance extends equipment service life and keeps the machine ready for the next operator.
-278x300.jpg "Mastering the VME-VMK CNC Video Measuring Machine in 8 Minutes: Beginner Operation Guide 4")
-300x295.jpg "Mastering the VME-VMK CNC Video Measuring Machine in 8 Minutes: Beginner Operation Guide 5")
-271x300.jpg "Mastering the VME-VMK CNC Video Measuring Machine in 8 Minutes: Beginner Operation Guide 6")
Backed by Mikrosize’s proven hardware design and metrology software, the VME-VMK CNC Video Measuring Machine balances simple operation and powerful inspection performance. Whether you are an experienced quality engineer or a brand-new user to vision metrology equipment, you can get up to speed quickly and benefit from fast, repeatable precision measurement for your manufacturing quality checks.
-150x150.jpg)