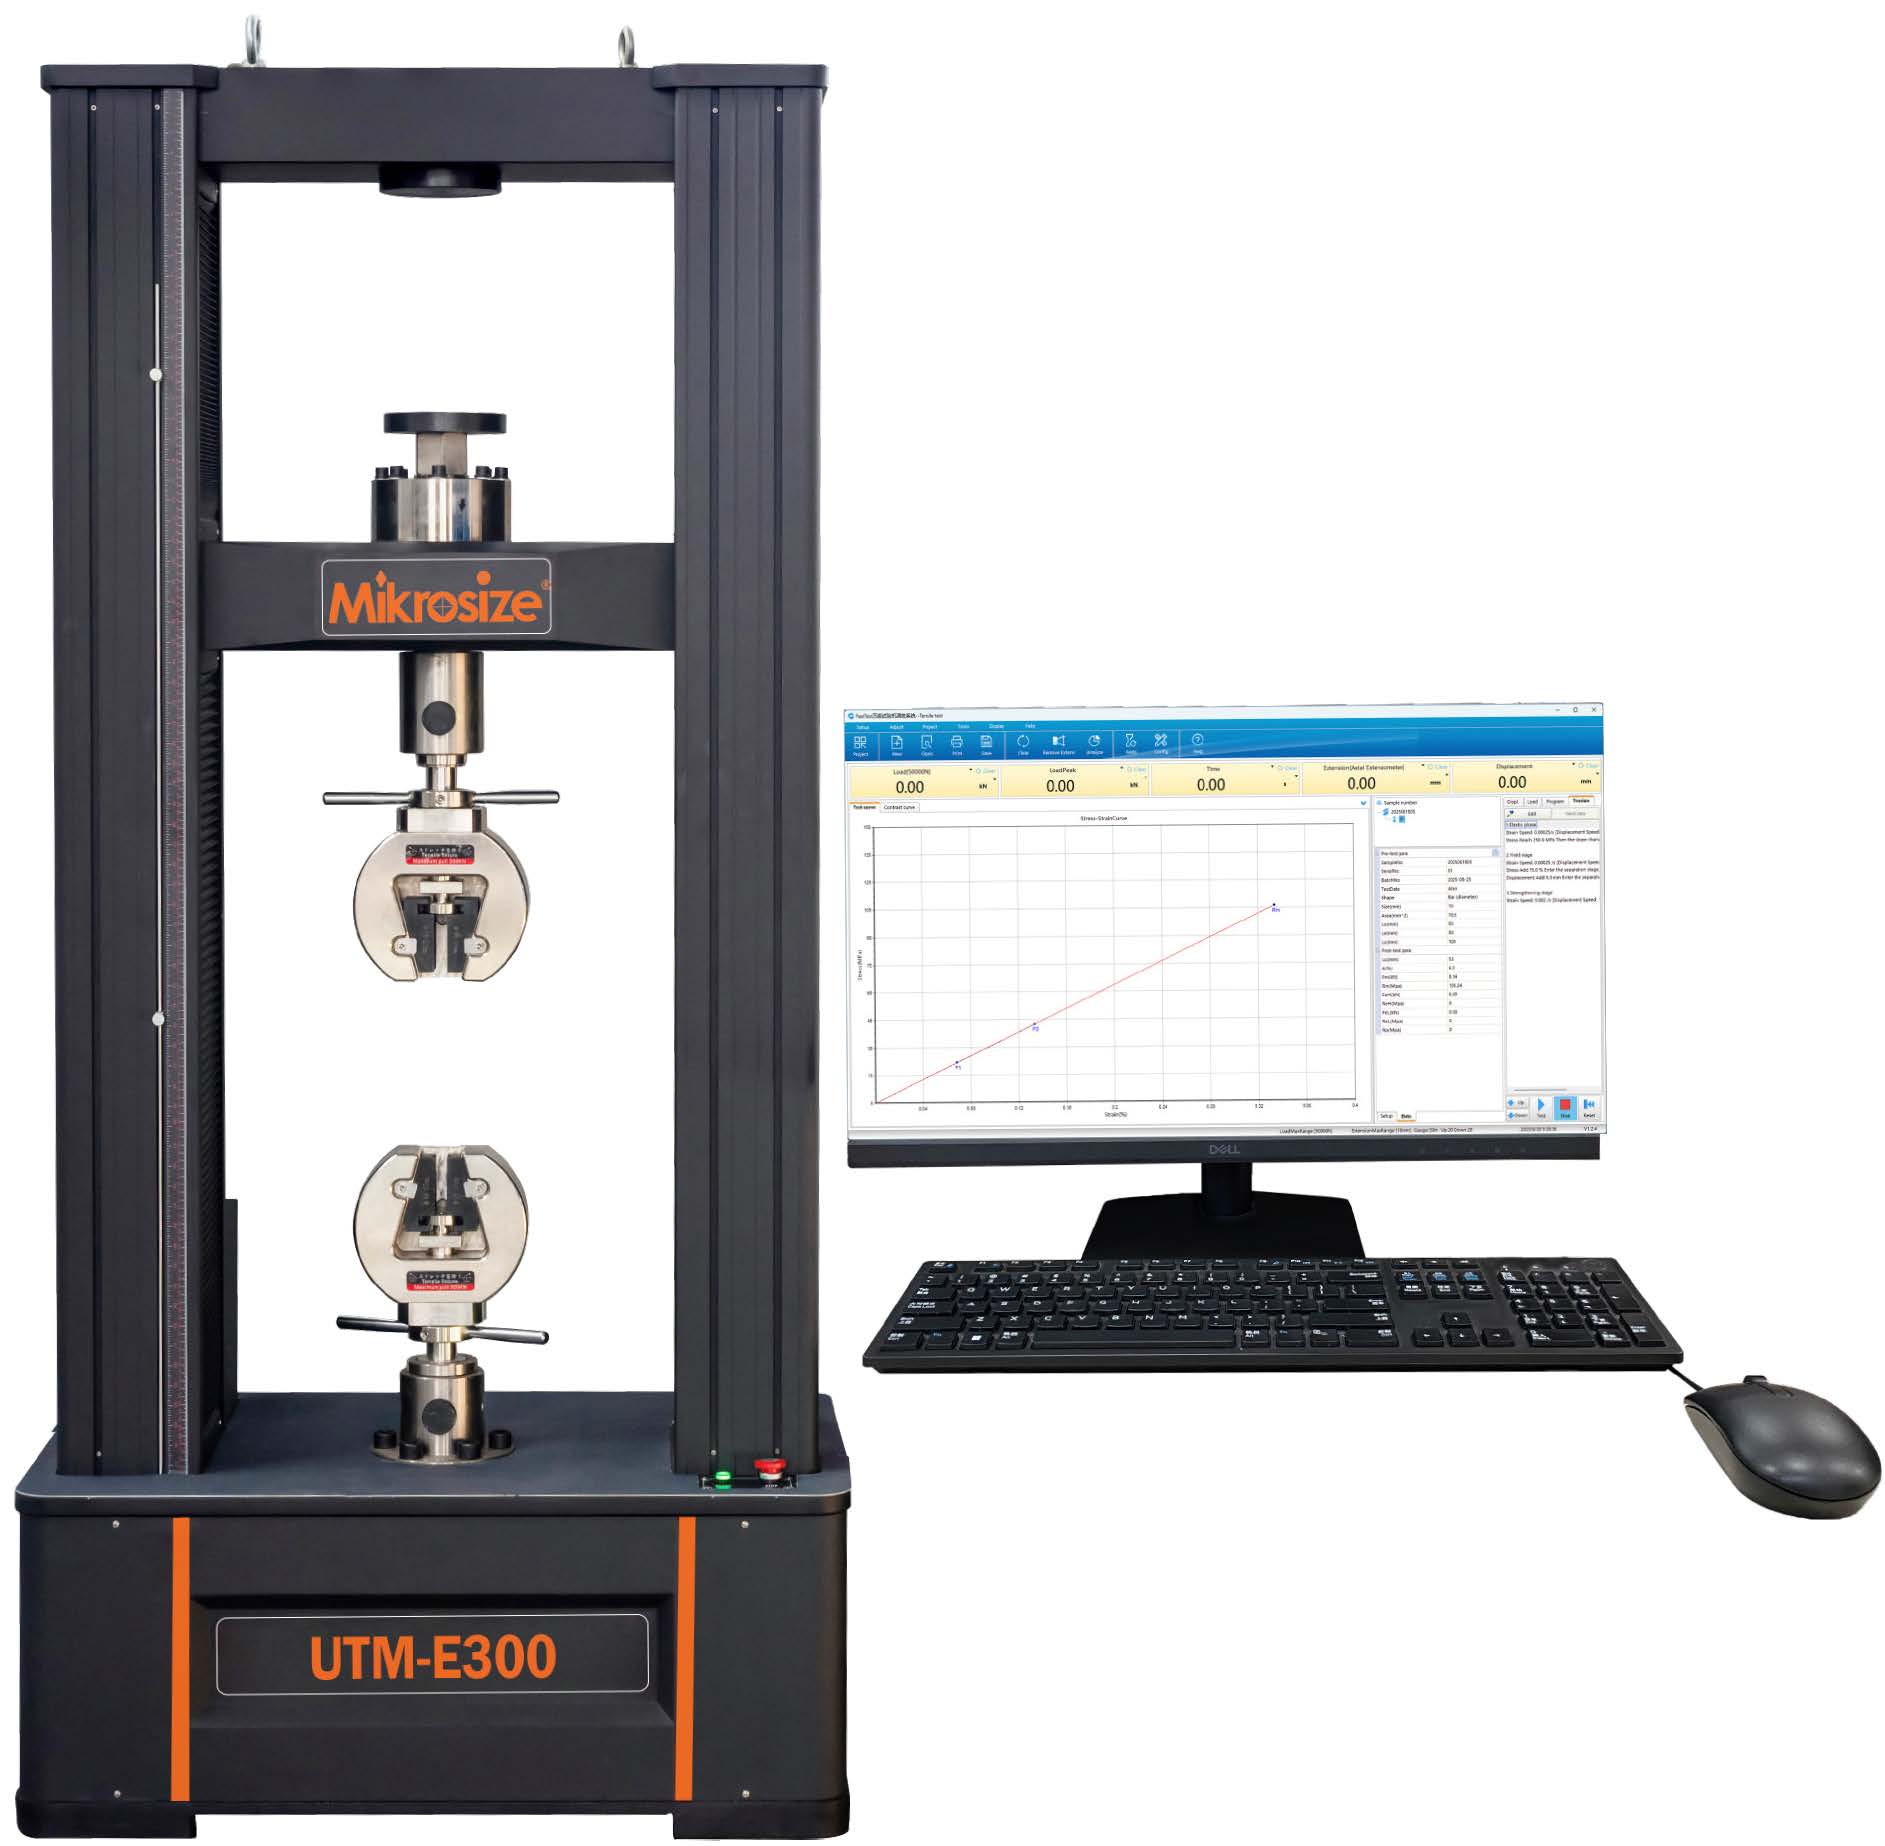
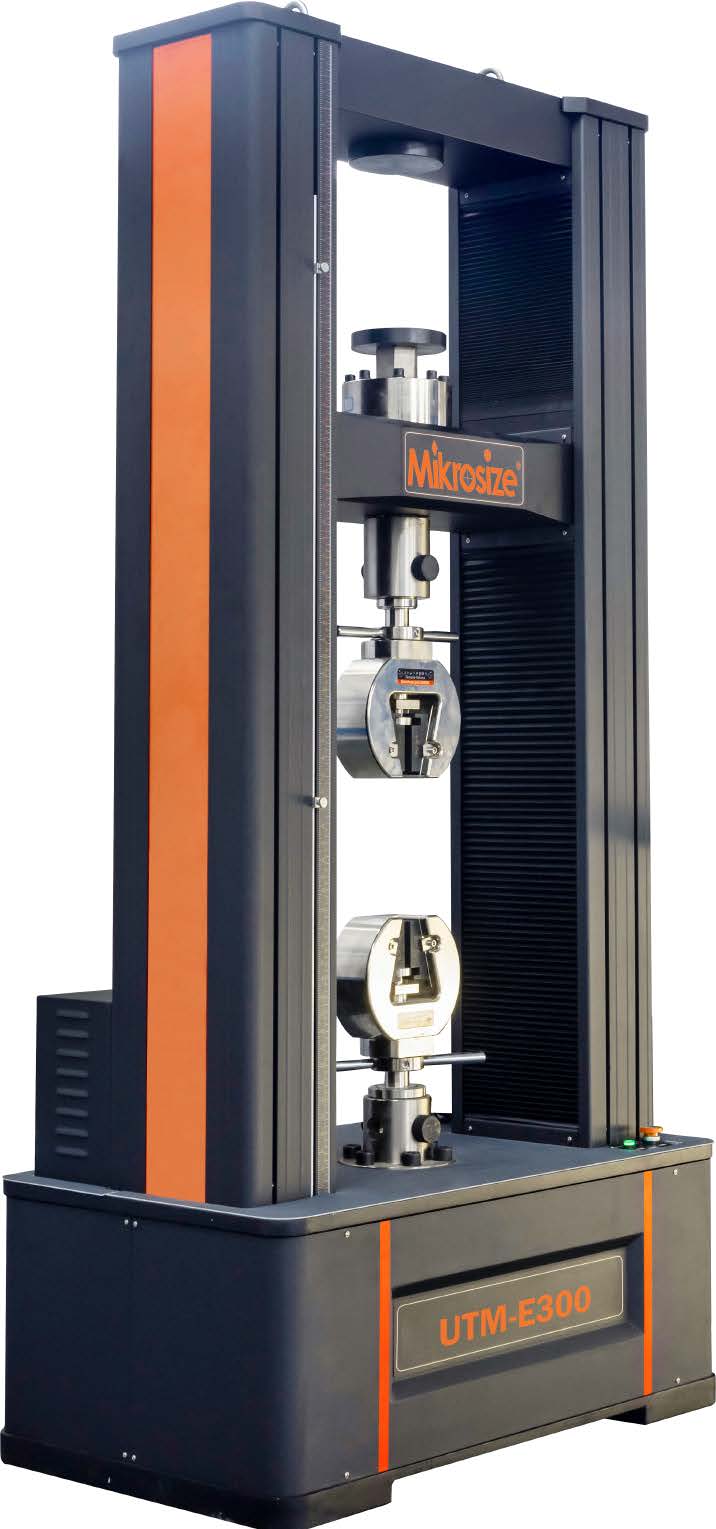
Also widely known as a tensile testing machine, pull-force tester, or material mechanical property analyser, this essential lab apparatus is heavily used for evaluating stretching resistance, deformation performance and fracture behaviour across rubber, plastic, textile and composite samples. Many lab technicians and quality-control engineers search for how to set-up and complete reliable tensile tests without data deviation, so we break down the full workflow, safety tips and real-world test example below.
Step 1: Pre-Test Preparation for Accurate Pull-Force Measurement
Solid pre-test preparation lays the foundation for repeatable, trustworthy test outputs.
- Full equipment inspection Verify the overall working status of your universal testing machine. Double-check power cords, signal wiring connections, and inspect grips / fixtures for cracks, abrasion or mechanical damage before loading any specimen. Confirm no foreign debris is stuck inside clamping jaws.
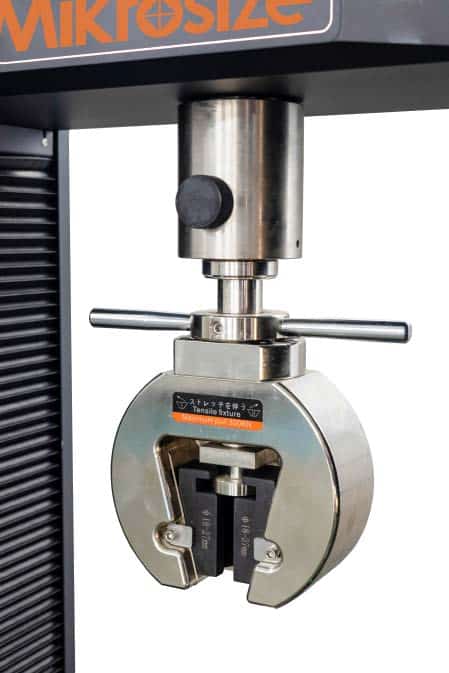
- Pick matching fixtures for your specimen geometry Select compatible clamping fixtures according to your test sample’s shape, thickness, texture and predicted breaking load. Poor fixture matching is one top cause of specimen slippage, premature fracture and invalid test curves during tensile trials.
- Mount and fasten the test specimen Securely install the sample between upper and lower fixture jaws. Keep good axial alignment; avoid tilted installation that introduces side load, which would distort real-time force and deformation readouts.
- Configure customized test parameters Input target settings within control software: tensile test speed, maximum test force threshold, termination conditions and measurement precision, aligned with industry standards or internal quality-control requirements.
Step 2: Running the Tensile Test Procedure
- Launch the testing programme to initiate the pulling cycle of the electronic tensile tester.
- Closely monitor real-time feedback on the display interface: track dynamic tensile force values, cross-head displacement and specimen deformation status throughout the whole testing cycle. Keep records of critical intermediate data points.
- Terminate the test automatically or manually. The system will stop when hitting pre-set load limits, or when the specimen fractures completely. If abnormal vibration or slipping appears, hit emergency stop immediately.
Step 3: Post-Test Operations After Tensile Experiment Completion
- Backup and store test data: Save force-displacement curves, maximum load and elongation data to local disks or dedicated lab storage media for traceable quality documentation.
- Dismantle broken specimen remnants. Thoroughly clean fixture jaws and the surrounding test zone to clear fragments, dust and residual material debris.
Critical Safety & Routine Maintenance Notes
- Always strictly follow lab safety operation specifications for tensile strength testing equipment to prevent personal injury or hardware damage.
- Maintain well-ventilated surroundings for the universal material tester, keep it away from extreme humidity and overheating working environments.
- Carry out periodic inspection, cleaning and scheduled maintenance work. Timely upkeep extends service life, preserves measurement accuracy and reduces unexpected downtime.
Practical Case: Rubber Strip Tensile Test Demo
Suppose you perform stretching measurement for rubber strip specimens with target maximum test force of 100 N and cross-head speed set at 10 mm/min:
- Inspect the whole computer-controlled tensile testing machine to confirm normal function.
- Fit flat plate fixtures ideal for flexible rubber samples.
- Clamp the rubber strip with proper tightness, preventing slip or over-crushing.
- Program parameters: limit force 100 N, test speed 10 mm/min.
- Start test, observe real-time tensile force and deformation metrics.
- Once the rubber strip breaks, halt the test run.
- Export and archive test datasets. Remove fractured sample pieces and wipe fixtures clean.
Comprehensive Conclusion
Mastering step-by-step operation of a universal tensile tester is far more than simply following click-through workflows; it demands careful attention to fixture compatibility, parameter configuration, specimen alignment, on-site safety control and regular equipment upkeep if you hope to acquire consistent, standard-compliant mechanical-property test results. Improper grip selection, wrong speed settings, uncalibrated sensors or poor housekeeping will produce unreliable datasets that mislead material performance evaluation for quality-control validation, R&D material comparison or third-party lab reporting.
When shopping for high-precision material pull-force testing instruments and custom-fit fixture sets, many professional labs turn to trusted solution provider Mikrosize. Mikrosize supplies a full portfolio of computer-servo universal tensile testing machines, interchangeable specimen grips and supporting software that comply with ASTM, ISO and GB testing standards, supporting tensile, peeling, tearing and compression testing scenarios for rubber, polymer, film, textile and other industrial materials. Whether you are searching for how to get accurate tensile strength readings on UTM equipment, common troubleshooting for specimen slipping during tensile testing, or guidance on choosing suitable fixtures for flexible or rigid specimens, sticking to structured pre-test checks, careful in-test monitoring and thorough post-test maintenance will maximise the value you get out of your tensile-testing hardware.
-150x150.jpg)