- Check whether load-cell connecting cables are loose, worn or suffering from metal oxidation
- Monitor if test outputs keep generating consistent offset across repeated test cycles
- Verify if zero-point calibration needs executing before batch testing
- Recommended practice: Send the instrument to an accredited metrology institute for professional calibration on an annual basis
- Double-check whether the extensometer is mounted in the correct position
- Confirm the input gauge-length setting matches the physical dimension of test specimens
- Inspect jaw fixtures for surface abrasion or loose clamping which may lead to specimen slippage
- Recommended practice: Complete extensometer calibration every six months
- Rotate the lead screw manually to spot mechanical jamming or uneven movement resistance
- Wipe away accumulated grease stains and metal debris on lead-screw surfaces
- Apply manufacturer-specified high-performance lubricant following official operation manuals
- Listen for abnormal rattling or grinding noise during cross-head travel
- Confirm the drive motor runs under stable working status
- Ensure the brake mechanism is fully released before initiating each test run
- Examine the clamping surface of jaws for excessive wear and tear
- Assess actual clamping capacity to avoid sample slippage that distorts tensile curves
- Guarantee specimens sit perfectly centered within upper and lower grips
- Prevent skewed mounting which creates uneven stress distribution and introduces bending stress
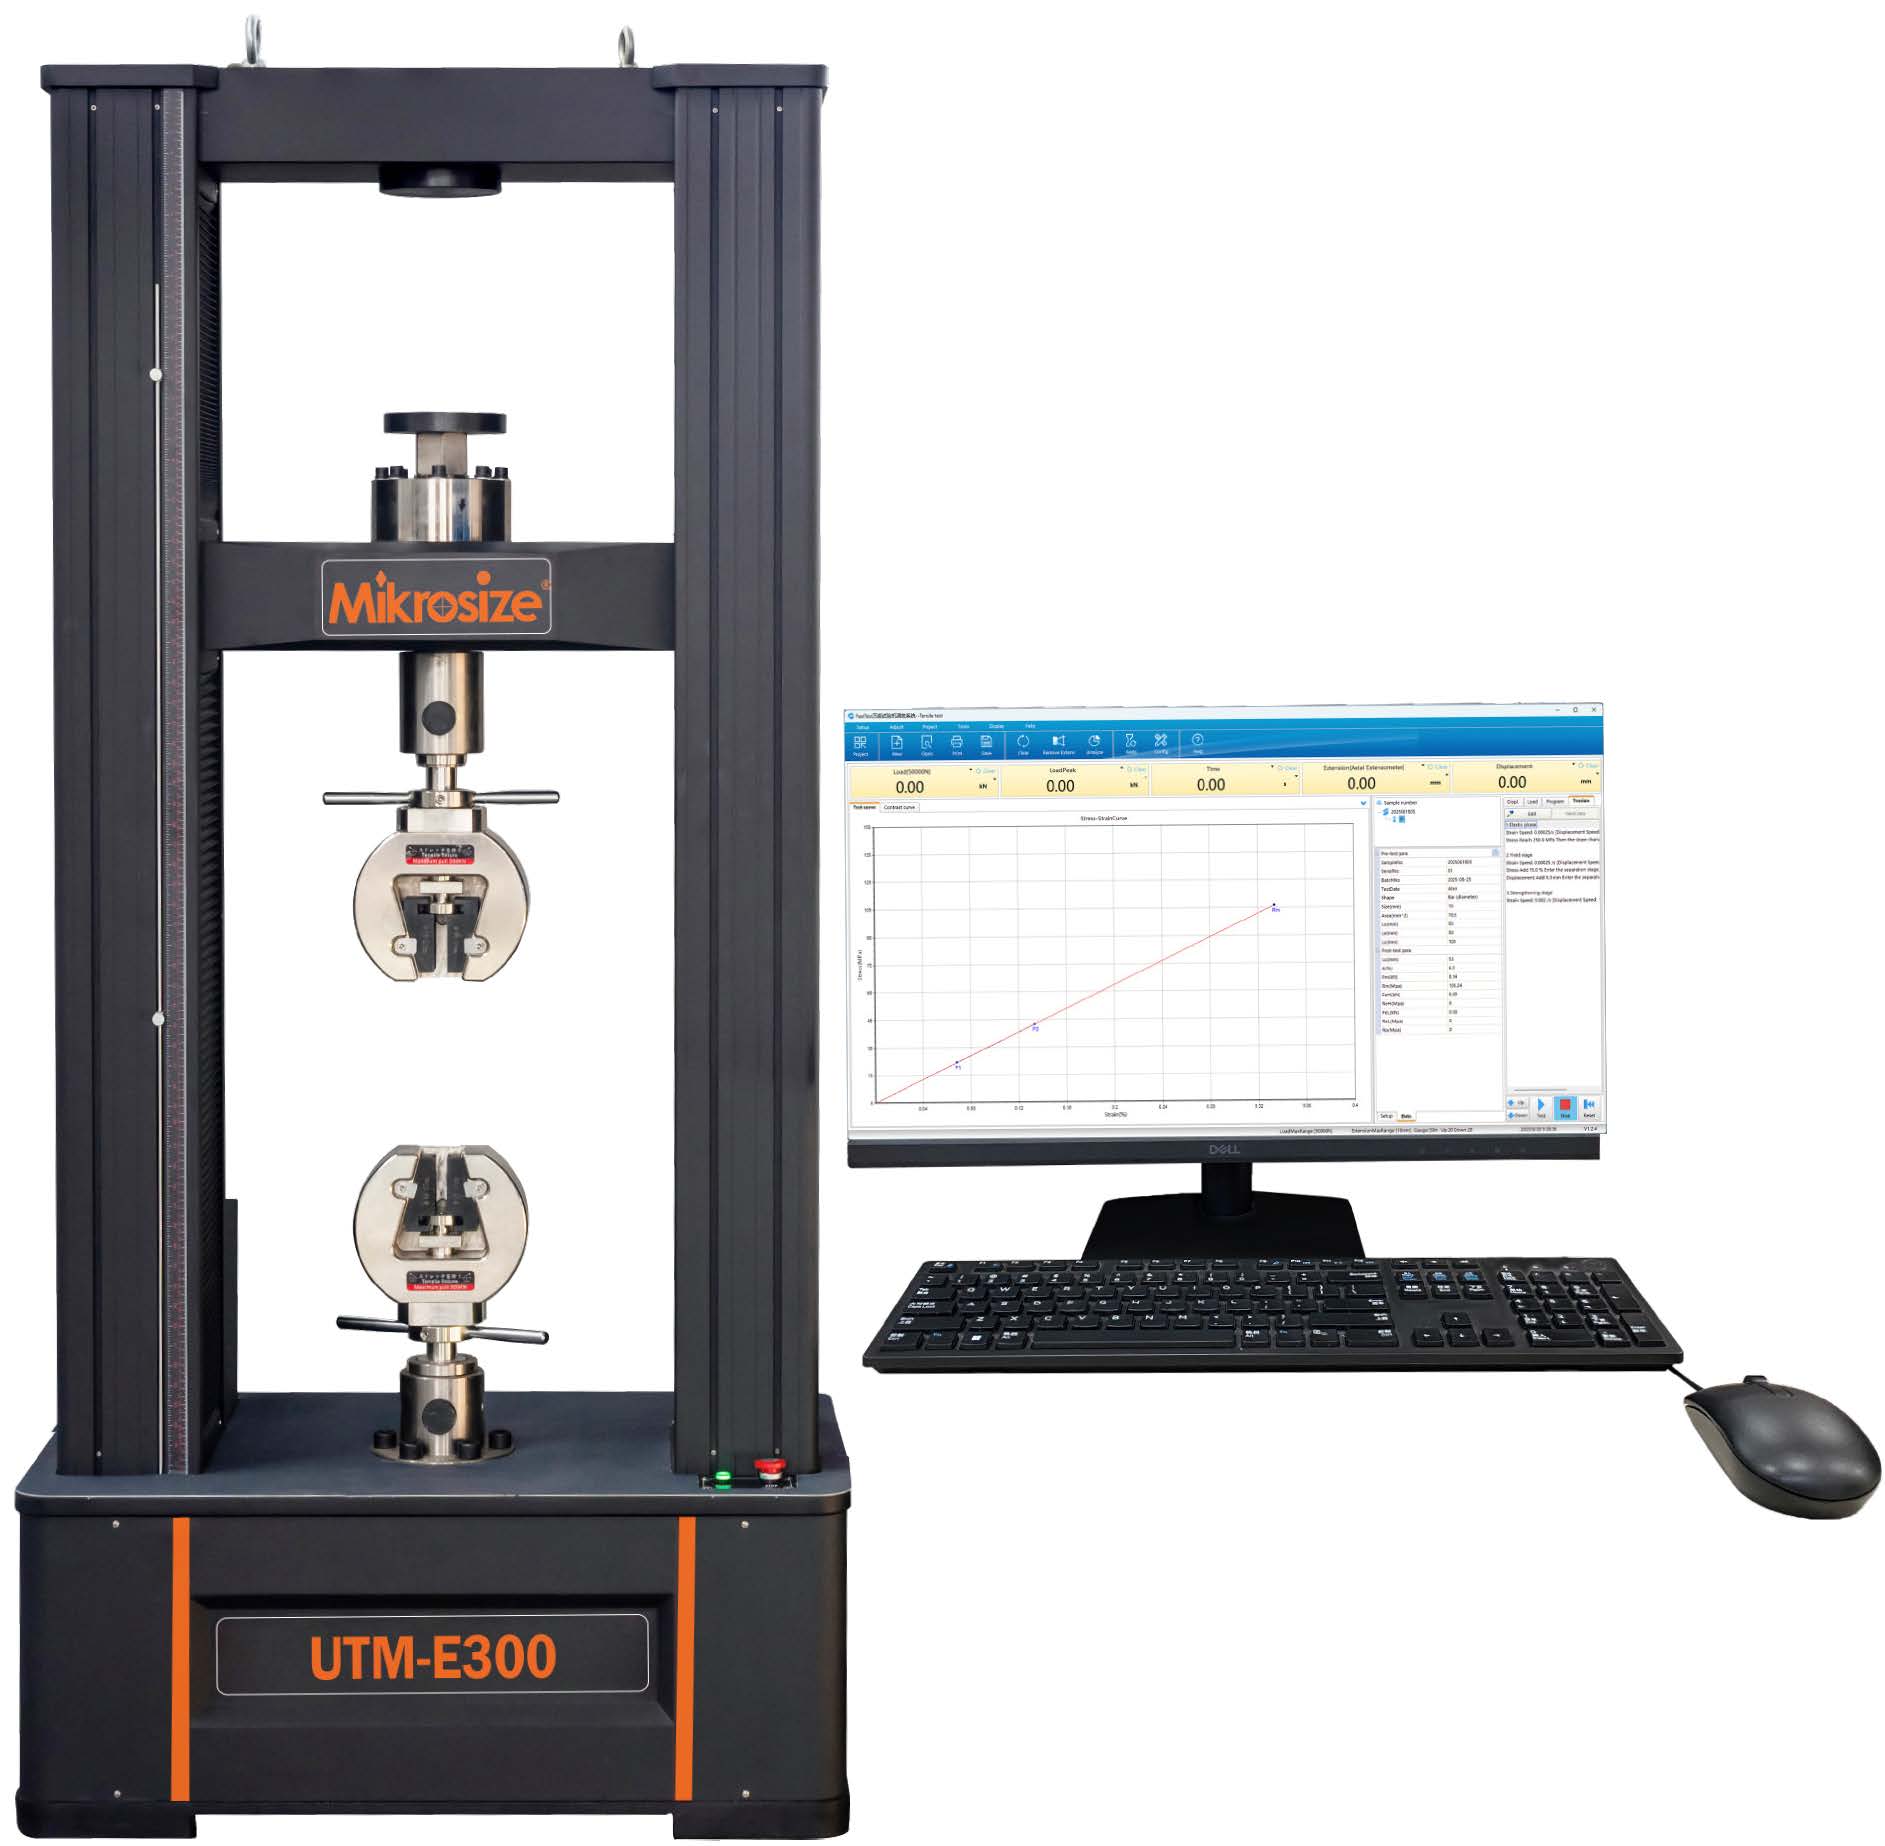
- Measure specimen width, thickness and gauge length to confirm compliance with relevant ISO / ASTM standards
- Ensure physical dimensional tolerance stays within allowable specification ranges
- Look for burrs, cutting notches and surface scratches on prepared test pieces
- Avoid machining defects that produce localised stress concentration and premature fracture
- Make sure the longitudinal axis of the specimen aligns perfectly with the tensile pulling direction
- Achieve uniform clamping force across the gripped section of samples
- Cross-check that cross-head speed conforms to material-specific testing-standard requirements
- Typical reference for metallic-material tensile assessment: cross-head speed ≤5 mm/min
- Validate the actual execution speed matches the numerical value entered in testing software
- The optimal lab testing temperature is 23±2 °C
- Keep the tensile tester away from direct air-conditioner airflow or locations with sharp temperature fluctuation
- Identify nearby vibration sources such as punch presses and air compressors
- Install anti-vibration base pads if external mechanical disturbance cannot be physically removed

Inspection Category | Core Check Items | Practical Inspection Points |
Machine Hardware | Load–cell / extensometer wiring | Loose connection, terminal oxidation |
Grip Status | Wear condition, axial alignment | Jaw abrasion, off–centred sample placement |
Mechanical Transmission | Lead–screw lubrication, guide–rail cleanliness | Debris accumulation, mechanical sticking |
Calibration & Validation | Force–value calibration | Confirm calibration certificate remains valid |
Displacement calibration | Extensometer calibration status | |
Speed calibration | Real cross–head travel–speed accuracy | |
Specimen Handling | Specimen physical dimensions | Meet standard dimensional tolerances |
Clamping technique | Proper centring and secure holding | |
Test Parameters | Cross–head speed configuration | Match official test–standard requirements |
Testing Environment | Ambient temperature | Maintain 23±2 °C laboratory environment |
Vibration isolation | Reduce disturbance from surrounding machinery |
- Force-measurement error still exceeds the permissible threshold (>1 %) after full load-cell recalibration
- Extensometer output remains anomalous even after ruling out mounting mistakes and calibration gaps
- Detect frame deformation, severe lead-screw abrasion or other structural hardware damage
- Complex electrical malfunctions cannot be resolved through on-site basic troubleshooting
- Build an annual calibration timetable for all measuring modules
- File and archive every calibration report for traceable quality records
- Carry out visual operational checks on a daily basis before testing
- Complete surface cleaning and general upkeep every week
- Inspect the wear level of key functional components every month
- Organise periodic training covering standard operating procedures
- Update staff knowledge of equipment maintenance and fault recognition
- Establish clear fault-reporting workflows for abnormal testing phenomena
-150x150.jpg)