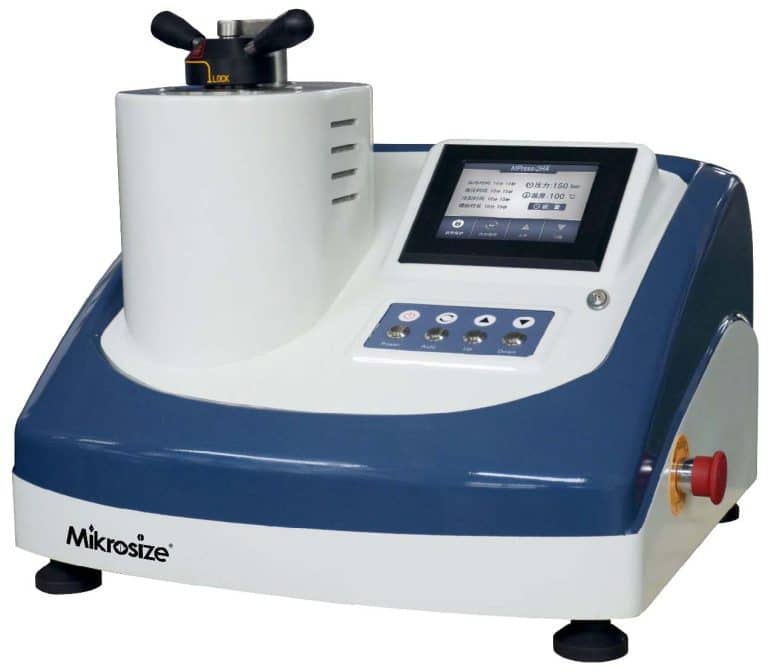
If you are searching for how to operate a manual metallographic hot mounting press, standard SOP for metallographic specimen mounting, or best practices for bakelite powder sample embedding for metallography, this practical lab blog will walk you through complete workflows, critical parameter settings, common pitfalls, and operational notes for daily metallographic sample preparation.
Metallographic mounting press (hot compression mounting press) is core lab equipment used to encapsulate small, irregular-shaped metal specimens inside thermosetting resin (such as bakelite / electroplating powder) under combined heat and pressure. The finished mounted blocks are ready for subsequent grinding, polishing, etching and microstructure observation under metallurgical microscopes. Improper operation will lead to incomplete curing, sample ejection failure, resin cracking or specimen pop-out during demolding. Below is the verified standard operating procedure based on real-world laboratory manual-type mounting-press workflows.
Pre-Operation Preparation & Mold Cleaning
Before starting every mounting cycle, complete these pre-check items to avoid bad mounts:
- Power on the mounting press unit. Inspect and thoroughly clean residue of bakelite powder stuck on edges of upper ram and lower ram. You can scrape off leftover resin with a saw blade with moderate force; avoid heavy scratching which will damage mold components.
- Install hand crank handle for first-time equipment use. Remove protective cloth between upper and lower mold, and wipe off anti-rust grease on rams and mold sleeves completely.
- Set target working temperature. For typical bakelite mounting powder, set temperature between 130 °C-140 °C; 135 °C is a widely-adopted default setting for room-temperature lab environments of 8-20 °C. Wait until temperature stabilizes at set value before loading specimens.
Important tip: Clean upper and lower mold edges before every single specimen mounting. Residual powder is one top cause for mold jamming and uneven finished blocks.
Specimen Loading & Filling Mounting Material
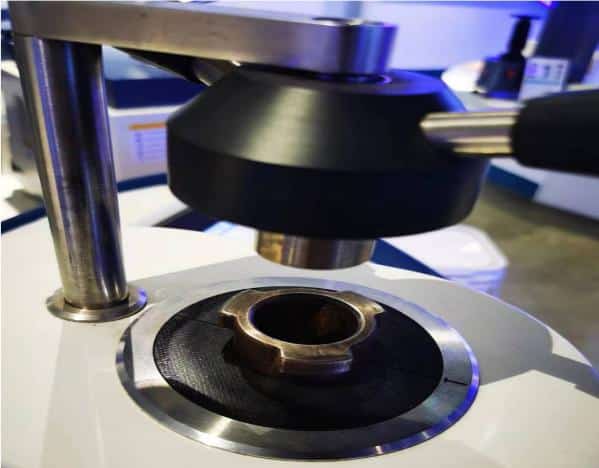
- Rotate the handwheel to adjust the lower ram to keep parallel with lower platform. Place your metallographic sample onto center of lower ram, observation surface facing down.
- Turn handwheel counter-clockwise for 10-12 full rotations to drive down lower ram together with the specimen. Keep specimen height no more than 10 mm (1 cm); over-tall samples easily cause poor compression quality.
- Add bakelite filling powder until material surface stays flush with lower platform. Place upper pressing mold onto the filling powder. Apply downward manual force on top of upper mold, meanwhile rotate handwheel counter-clockwise, drop lower ram until its top surface sits below upper platform plane.
- For unstable specimens that cannot sit flat on lower ram: add mounting powder gradually while lowering the ram to hold the sample steady.
Closing Mold, Applying Pressure & Holding Curing
- Quickly close the top cover plate. Rotate octagonal knob clockwise until its screw rod gently presses against lower ram with firm tactile resistance.
- Continue turning main handwheel clockwise until pressure indicator lamp lights up. Rotate handwheel for additional 1-2 turns only. Do NOT over-tighten. Excessive pressure will trigger violent popping-out risk during sample demolding and make ejection extremely difficult.
- When heat-holding indicator lamp lights, start timing under stable working pressure. For bakelite powder, keep heat-preservation for 5 minutes for full resin curing.
If you use timer-equipped mounting press models: twist timer knob to ON position, set timer to 10 min. During heating cycle, pressure indicator may turn off due to thermal expansion; keep adjusting handwheel to maintain pressure until indicator lamp remains lit throughout curing period.
Cooling, Pressure Relief and Specimen Demolding
- After finishing curing time, proceed with pressure relief first. Rotate main handwheel counter-clockwise until pressure light turns off; keep rotating another 3-5 circles for full depressurization.
- Rotate octagonal knob clockwise to push upper ram down, eject the finished metallographic mount out of mold cavity. Then reverse octagonal knob and open the top cover.
- Rotate handwheel clockwise to lift lower ram. When bottom edge of lower ram aligns with lower platform, shift lower ram component to corner position of upper platform inside machine cavity.
- Raise ram assembly further until mounted specimen is fully exposed. Take out the finished sample block safely.
- Recommended cooling practice: allow the mount to cool for minimum 5 min inside the cavity before demolding to minimize resin shrinkage gaps between specimen and embedding material.
Common Operational Mistakes & Troubleshooting Notes for Metallographic Mounting Press
- Over-applied pressure: Causes violent pop-up on ejection, mold stuck. Only add 1-2 extra rotations after pressure lamp lights.
- Forgotten mold cleaning: Residual bakelite debris leads to mold mis-alignment, burrs on sample blocks. Always clean ram edges before each run.
- Specimen height over 10 mm: Incomplete resin compression, partial uncured sections inside mounting block.
- Demolding without full depressurization: Severe safety hazard, may launch hot mount out of equipment. Always relieve pressure completely before ejection operations.
- Insufficient holding time: Soft, fragile mount block which breaks easily in subsequent grinding-polishing steps.
Conclusion
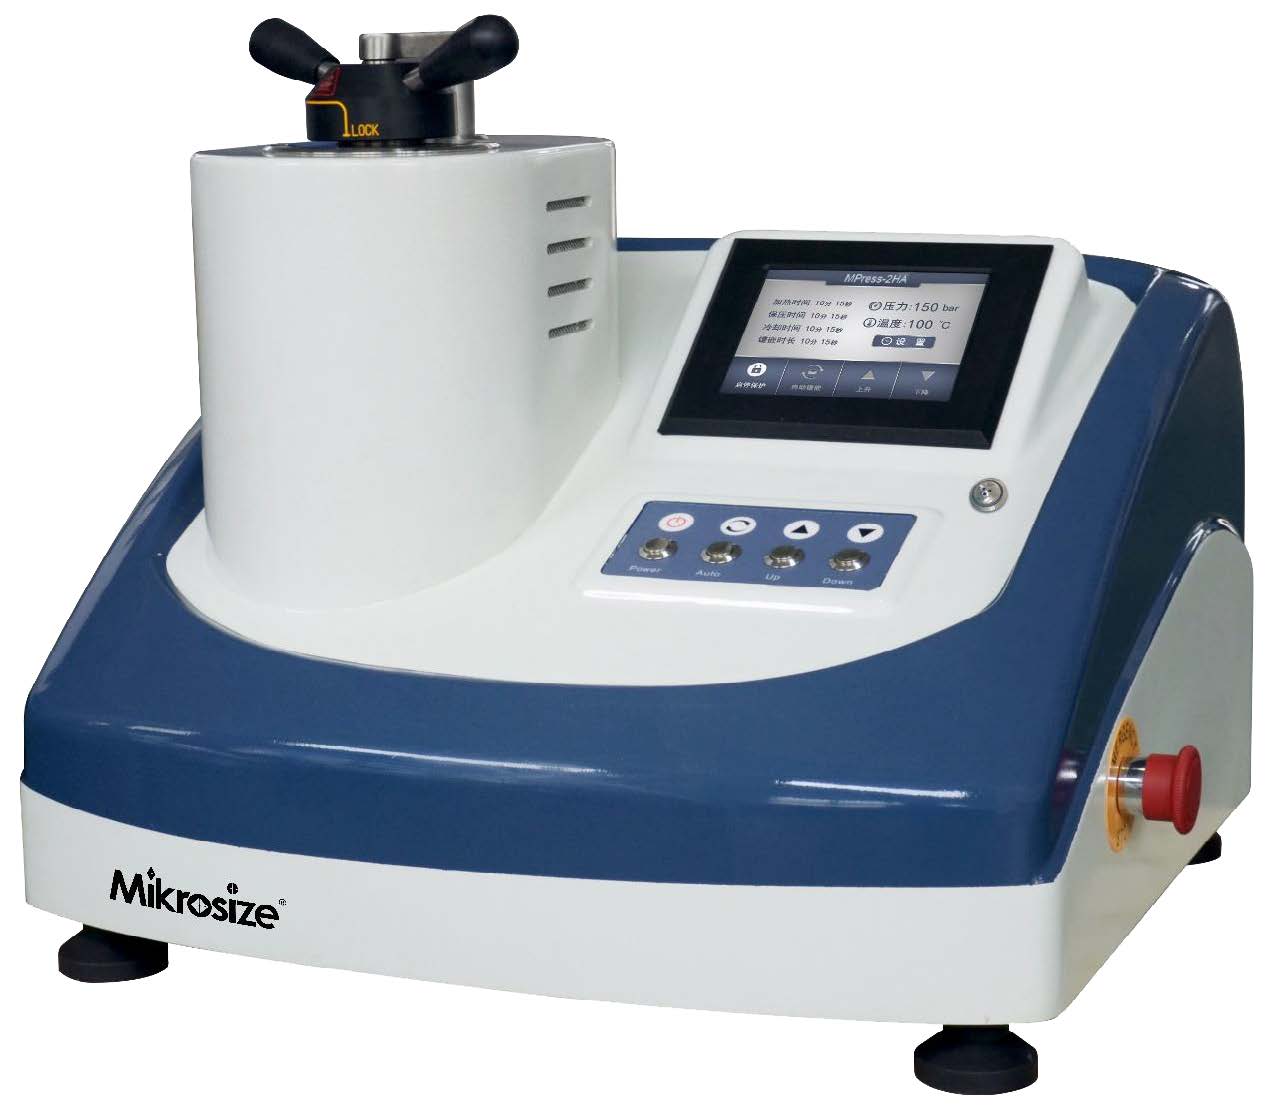
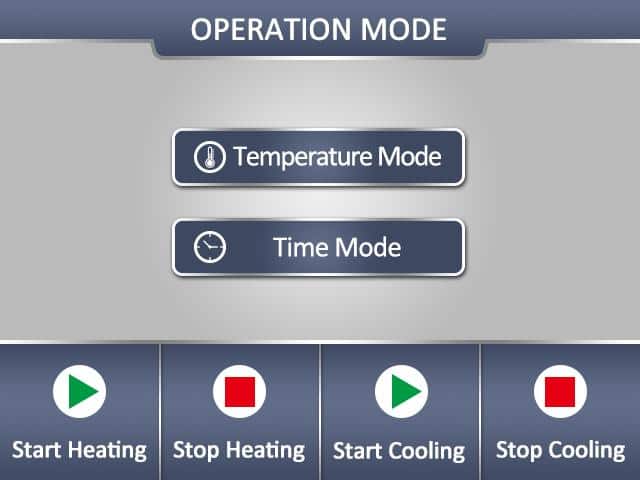
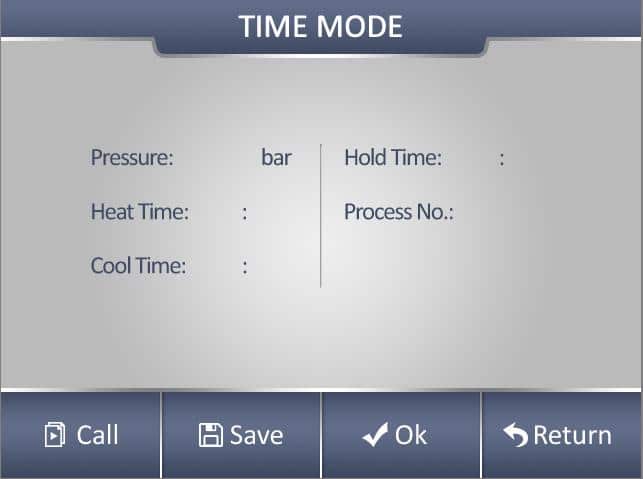
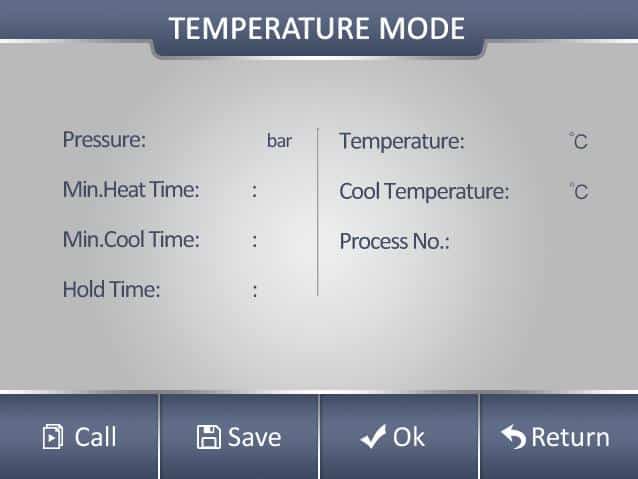
Mastering the manual metallographic mounting press SOP is fundamental to getting repeatable, high-quality metallographic specimens for material microstructure analysis, quality-control testing and failure investigation. Every detail including mold pre-cleaning, precise temperature-pressure setting, accurate curing timing and standardized pressure-relief demolding directly influences final mount quality and lab operational safety. When laboratories upgrade from manual-style hot mounting equipment to automated solutions, reliable equipment suppliers like Mikrosize provide series of hydraulic automatic metallographic mounting presses, featuring programmable heating-pressure-cooling cycles, touch-screen parameter recording, audible completion alarms and safe automatic ejection design. These automated units can greatly lower human-operation errors, improve throughput for high-volume metallographic sample-prep tasks while keeping consistent mount quality for daily material testing workflows.
-150x150.jpg)