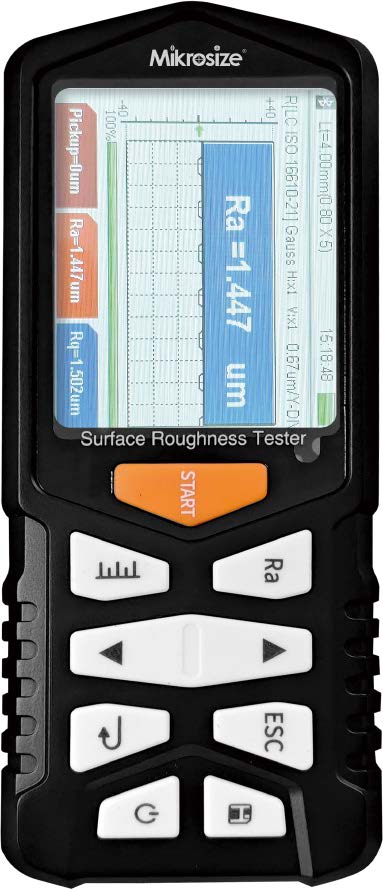
Dear friends, today I am going to introduce the iSurfa-360 Surface Roughness Gauge manufactured by Mikrosize. This instrument is a powerful tool for measuring material surface roughness, delivering accurate data to support a wide range of production and research activities.
Prior to operation, complete the following preparation steps. First, inspect the iSurfa-360 Surface Roughness Gauge for physical damage and verify that all components are intact and functional. Next, confirm an adequate power supply. When operating the instrument connected to a computer, ensure the computer runs normally and the relevant measurement software has been installed. In addition, thoroughly clean the surface of the test sample. No dust, oil stains or other contaminants should remain on the surface, as these will severely compromise measurement accuracy.
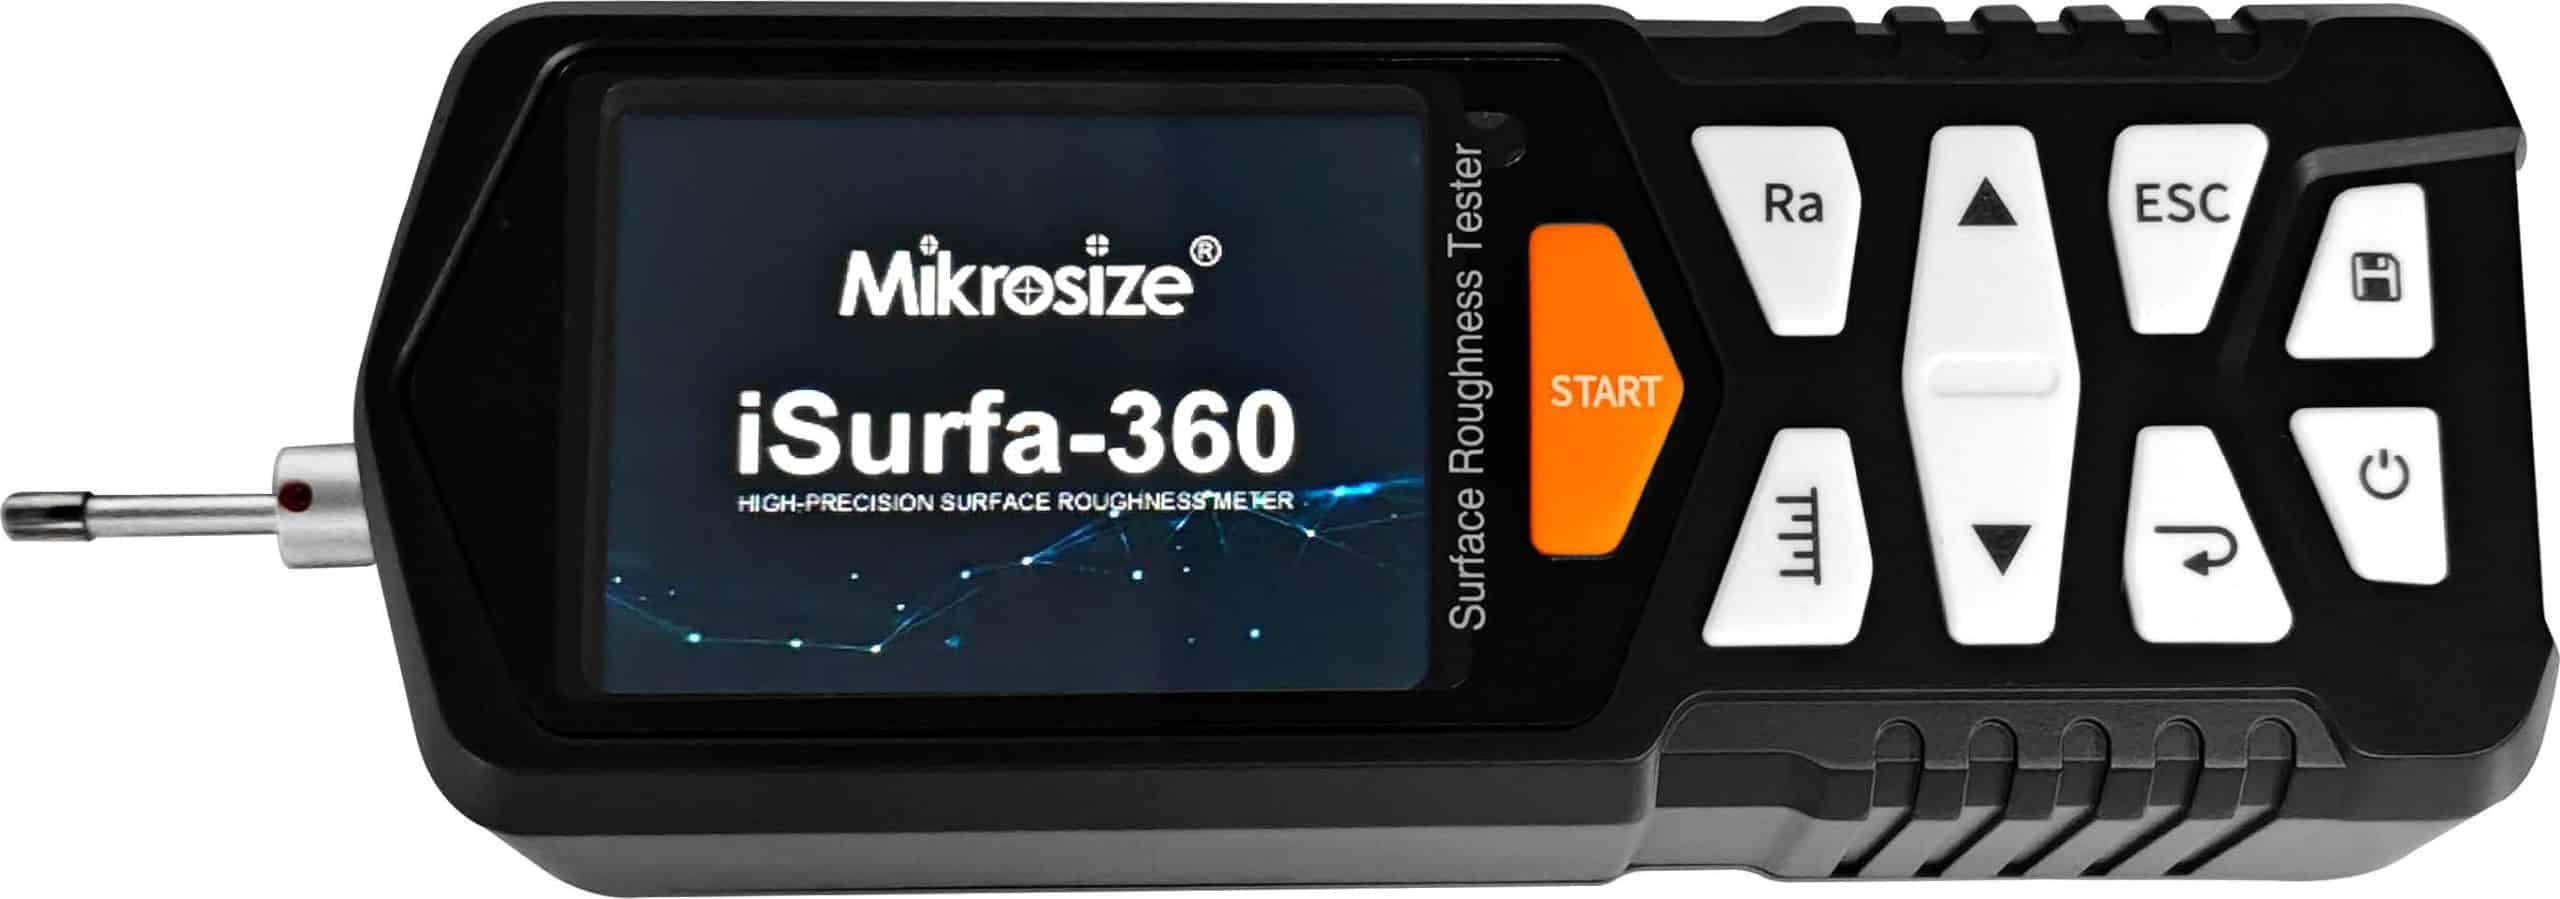
Once preparations are finished, power on the iSurfa-360 Surface Roughness Gauge by toggling the power switch. After a short boot-up period, the unit will start automatically and display its model, designation and manufacturer information: Mikrosize. It will then enter the main interface for basic measurement.
If the instrument has not been used for an extended period, calibrate the detector using the roughness standard block supplied with the device. Launch “Detector Calibration Measurement”, enter the nominal values of the standard block following on-screen prompts, and configure measurement conditions. Ensure the standard block is properly levelled before initiating calibration. Upon completion, the software will output the calibration value automatically.
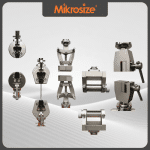
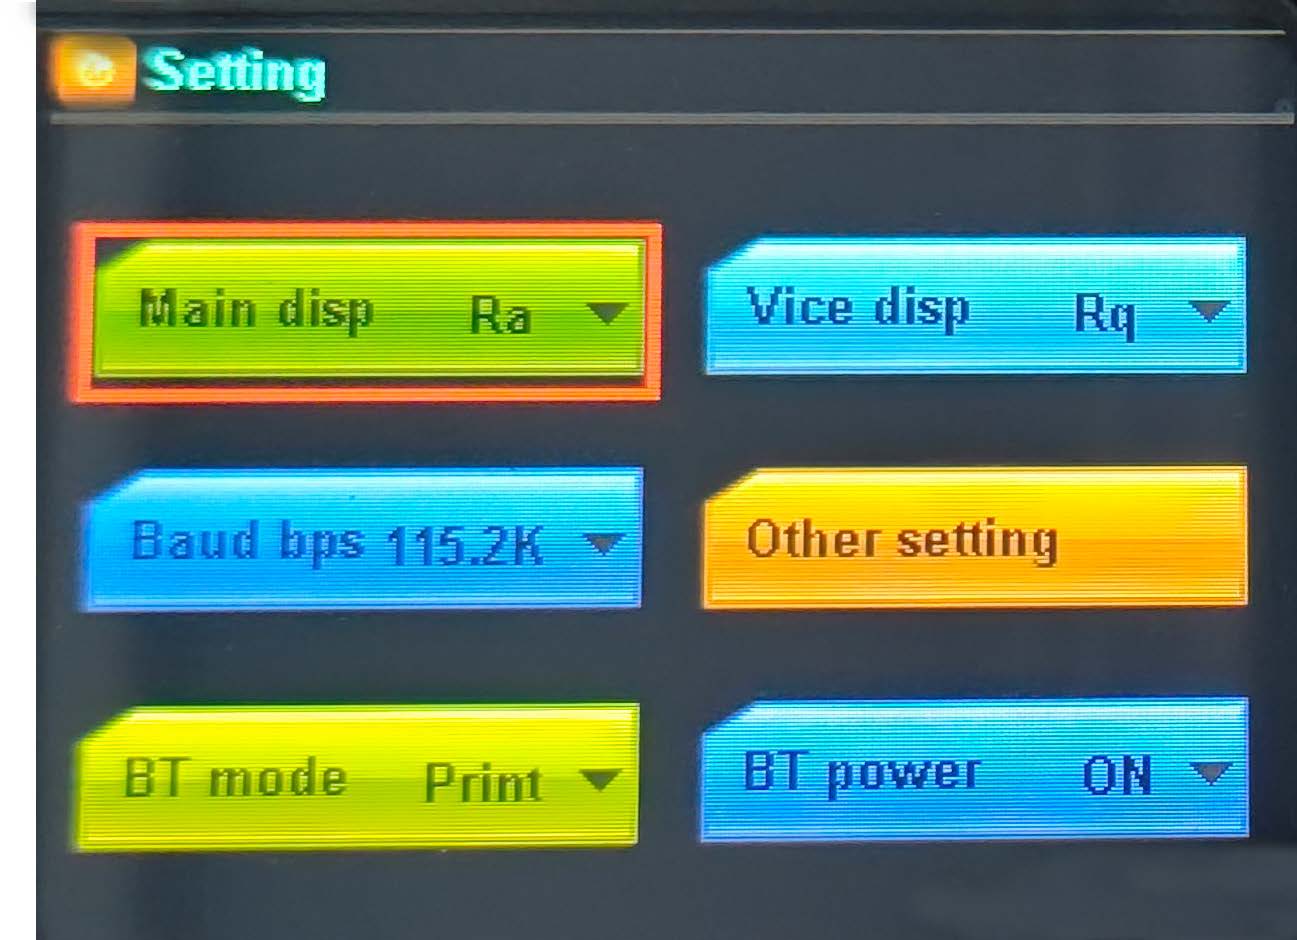
Then select and fit the appropriate detector and probe according to measurement requirements, and configure corresponding software parameters. For instance, select the applicable evaluation standard and set measurement parameters including evaluation profile type, cutoff length, and number of sampling intervals, based on workpiece conditions and test specifications.
Place the test sample securely on the workbench and level it as required. Ensure the sample surface or its generatrix runs parallel to the guide rail, and that machining marks on the measured area are perpendicular to the probe travel direction.
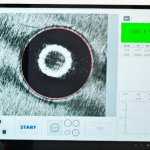
After completing all settings, you may begin measurement. On the main interface, press the START measurement key.
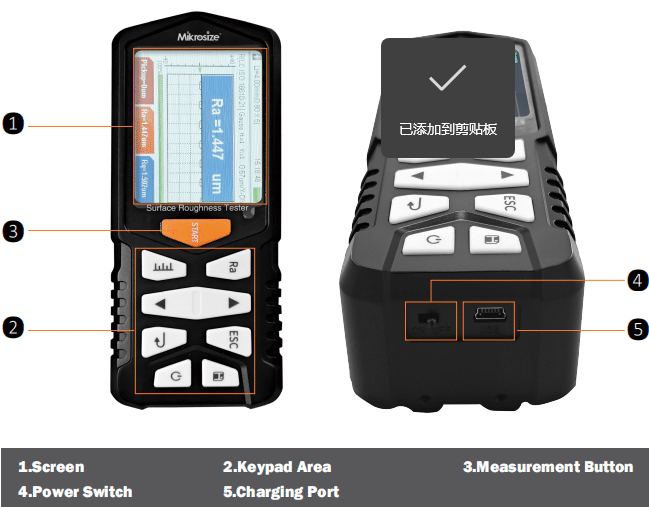
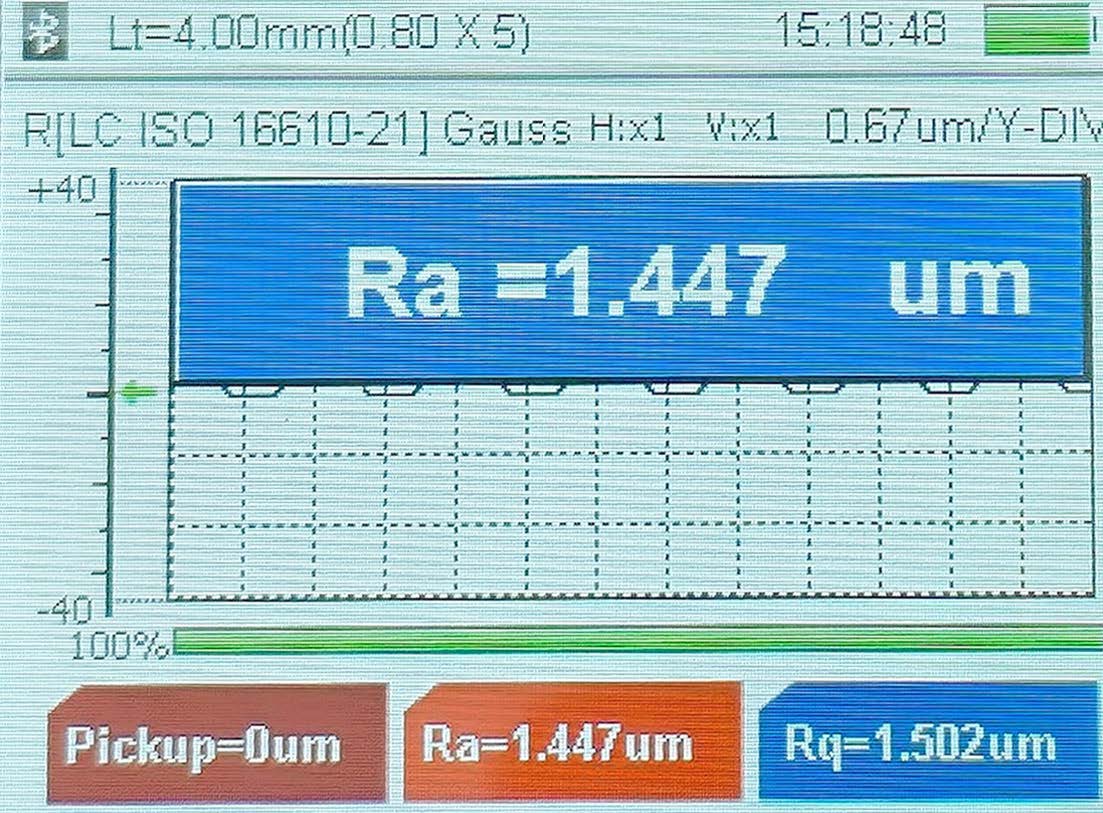
The iSurfa-360 Surface Roughness Gauge will start measuring automatically. Do not touch the instrument or test sample during measurement, as external disturbance will affect test results. When measurement finishes, results and the evaluated profile graph will appear on-screen.
Horizontal and vertical magnification factors can be set automatically by the system or manually adjusted. To view values for specific evaluation parameters, double-click the Parameter Setting Area; the software will display measurement results for selected parameters. To generate an analysis chart, double-click the Analysis Chart Area.
Upon completion of measurement tasks, raise the detector to a safe position, exit the measurement software and power off the main unit. Finally, clean and maintain the iSurfa-360 Surface Roughness Gauge, and store it properly for future use.
-150x150.jpg)