
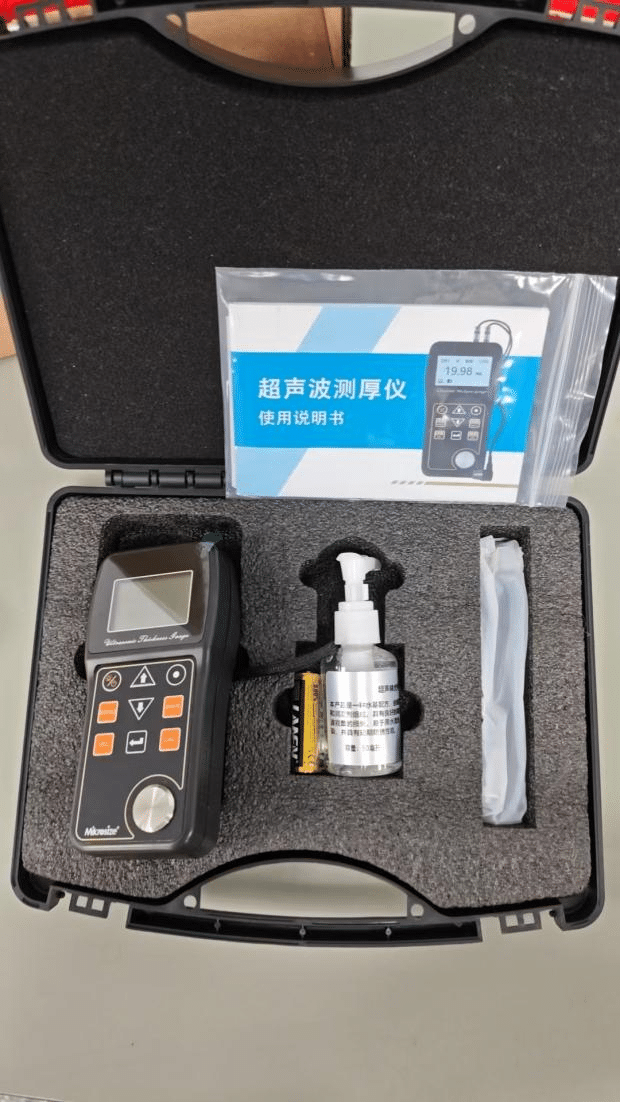
The iThick-200 Ultrasonic Thickness Gauge from Mikrosize is a portable ultrasonic thickness gauge designed for accurate measurement of plates, processed parts, pipes, and pressure vessels. It adopts the Interface-Echo-Echo (IE) mode and also supports pulse-echo (PE) mode and a test mode for precious-metal identification. This guide explains the key operation steps and practical measurement points based on the instrument manual.
Preparation and Power-On
Insert the probe plug into the host probe socket, then press the power key. The screen displays the current file number, measurement mode, menu, system time, sound velocity unit, battery status, and coupling signal. Before measurement, set the probe frequency to match the probe in use—otherwise accuracy will be affected. Press the menu key, enter System Set, select Probe, and choose the correct frequency. The iThick-200 Ultrasonic Thickness Gauge uses two AA alkaline batteries and offers a display resolution of 0.01 mm.
Selecting Measurement Mode
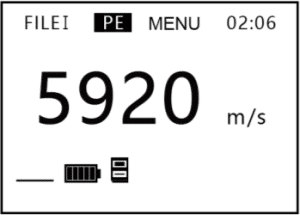
Press the mode key to move the cursor to the mode position, then switch among “IE”, “test”, and “PE”. The IE mode enables measurement through coatings. The PE mode is the conventional pulse-reflection method for materials where ultrasonic waves propagate at a constant speed and reflect from the back surface. The test mode uses ultrasonic technology to check whether precious metals are adulterated and to identify purity—mainly for gold bars, silver bars, gold coins, and silver coins.
Sound Velocity Adjustment
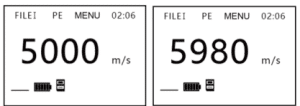
If the screen shows a thickness value, press the velocity key to display the current sound velocity. Press the key repeatedly to cycle through common velocities: steel (5920 m/s), gold (3240 m/s), silver (3650 m/s), platinum (3960 m/s), palladium (3070 m/s), and a user-defined velocity. For user-defined velocity, adjust the value with the arrow keys. Accurate sound velocity input is important because small changes affect results, especially on thicker workpieces.
Zero Calibration
After replacing the probe, changing the measurement mode, or changing ambient temperature, perform zero calibration before measurement. Adjust the sound velocity to 5920 m/s (the sound velocity of the standard test block). Apply couplant to the random test block, couple the probe, and press the calibration key. A progress bar appears. When “4.00 mm” is displayed, calibration is successful; if “X” appears, coupling was poor and calibration must be repeated. If the displayed value is not 4.00 after successful calibration, check that the sound velocity is set to 5920.
Thickness Measurement
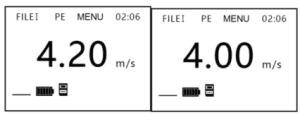
Set the sound velocity, apply couplant to the measured position, and couple the probe with the material. The coupling mark grid indicates coupling quality—fewer than five grids means poor coupling. The screen displays the thickness. After removing the probe, the value remains and the coupling mark disappears. To record a value reliably, freeze the reading before lifting the probe. If a large deviation appears, lift the probe and measure again until a correct value is shown.
Sound Velocity Calibration
To measure a material’s sound velocity, use a test block of known thickness. Measure the block with a vernier caliper or micrometer, select user-defined sound velocity, couple the probe until a stable thickness is displayed, freeze the value, remove the probe, adjust the displayed value to the actual thickness, and press the key to reverse-calculate the sound velocity. A progress bar appears, and the measured sound velocity is displayed and stored. For sound velocity calibration, the minimum recommended wall thickness is 4.0 mm.
Data Storage and Viewing
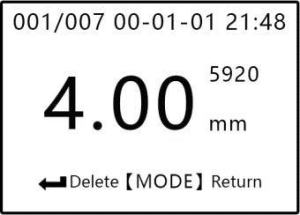
The iThick-200 Ultrasonic Thickness Gauge divides storage into five files, each holding 100 groups of measurement data. Each group includes thickness value and measurement time. Set the file number before storing. To save manually, short-press the save key during or after measurement to freeze the result, then long-press to save and unfreeze. To enable automatic storage, long-press the save key when the result is not frozen; the automatic storage flag appears, and each completed measurement is saved automatically with two rings. To view stored content, move the cursor to the file number, switch files, and press the view key. The display shows serial number, total stored quantity, measurement date, time, thickness value, and sound velocity used.
Practical Measurement Notes
For ultra-thin materials, readings may show “double refraction” (twice the actual thickness) or “pulse envelope and cycle jump” (greater than actual thickness). Repeat measurement and check when measuring critical thin materials. For rust spots and corrosion pits, readings may change irregularly; measure from different angles. For cylindrical surfaces, rotate the probe around the axis or move it parallel to the axis, and select a stable reading. For non-parallel surfaces, measurement error or no reading may occur. For large attenuation materials such as fiber, porous, and coarse-particle materials, readings may be abnormal or absent.

Conclusion
The iThick-200 Ultrasonic Thickness Gauge from Mikrosize combines multiple measurement modes, zero calibration, sound velocity calibration, and file-based data storage in a portable design. Following the operation steps above helps users obtain reliable thickness readings and maintain consistent measurement performance.