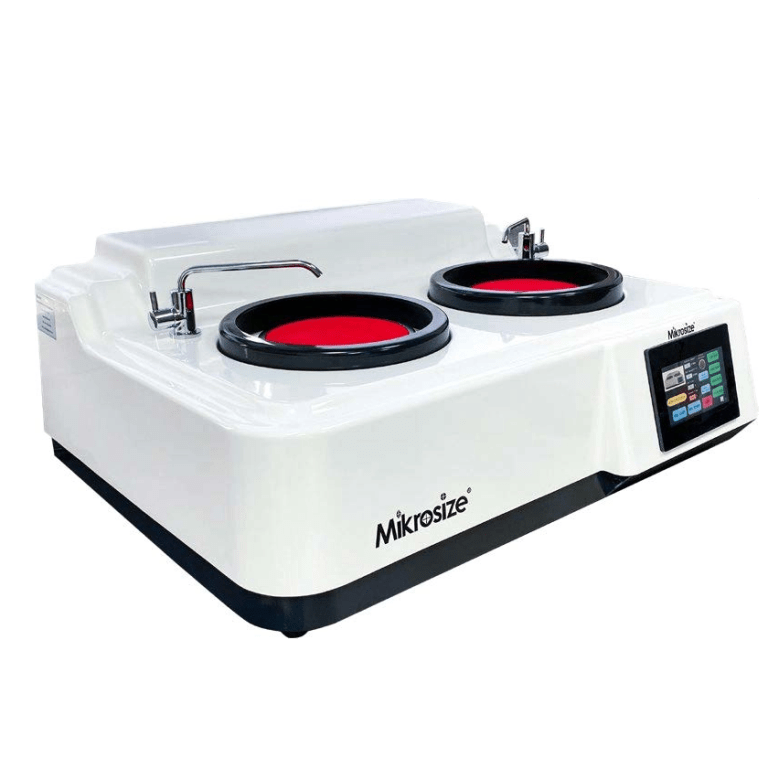
I. Pre-Operation Preparation
- Equipment Inspection: Verify normal power connection for your manual metallographic grinding and polishing machine. Check all components for physical damage; confirm the grinding disc and polishing cloth are securely fitted. Make sure the speed adjustment knob stays at OFF or low-speed position before startup.
- Sample Preparation: Get ready your metallographic sample for grinding and polishing. Use specimens in regular block or sheet dimensions compatible with this lab unit. If oil stains, rust or surface contaminants exist, thoroughly clean the sample surface with suitable solvents such as ethanol or acetone.
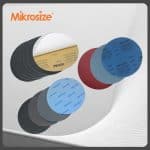
- Grinding Consumables Setup: Select proper metallographic sandpaper according to your sample material and hardness. Always start with coarse-grit grades (180-grit, 240-grit), then progressively switch to fine grits (800-grit, 1000-grit, 1200-grit, etc.). Prepare your metallographic polishing liquid and polishing cloth in advance.
II. Grinding Stage
- Sandpaper Mounting: Apply the selected coarse-grit sandpaper flat onto the grinding disc. Ensure full adhesion without air bubbles, creases or wrinkles.
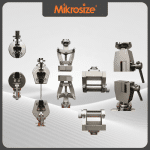
- Sample Holding & Fixing: Secure your sample above the grinding disc using a sample clamp or manual holding. Keep the sample perpendicular against the sandpaper surface and apply light, steady pressure to maintain full surface-to-surface contact.
- Begin Rough Grinding: Power on the metallographic grinder polisher and set a suitable rotational speed. Typical rough-grinding speed ranges from 150-250 RPM. Move the sample in circular or back-and-forth reciprocating motions over the disc. Continuously feed water or grinding fluid during operation: this cools specimens and washes away grinding debris, preventing sample overheating and sandpaper clogging.
- Grit Progression & Sandpaper Replacement: Once scratches across the sample surface become relatively uniform and target grinding quality is achieved, cut off power and swap to finer-grit sandpaper, repeat above grinding workflow.


Important tip: Always clean both the metallographic sample and grinding disc after every sandpaper change. Residual coarse-grit debris will ruin fine-grind results if carried over. Continue iterating grinding steps until finishing with your finest-grade sandpaper.
III. Polishing Stage
- Polishing Cloth Installation: Mount the polishing cloth evenly on the polishing disc. Eliminate wrinkles and slack to guarantee stable polishing performance.
- Polishing Liquid Dispensing: Apply adequate metallographic polishing suspension onto the polishing cloth. Adjust liquid type and dosage based on specimen material and target surface finish requirements.
- Start Metallographic Polishing: Switch on the unit and adjust rotation speed for polishing work; recommended speed sits within 180-300 RPM. Place your pre-ground sample gently onto polishing cloth. Apply moderate pressure for complete contact, then perform polishing by moving the sample in circular paths or gentle side-to-side swings. Keep consistent supply of polishing liquid throughout to avoid thermal damage and deliver ideal surface quality.
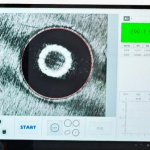
- Inspect Polishing Finish: Periodically remove your sample, rinse with clean running water, and examine surface condition under a metallographic microscope or magnifying lens. If residual scratches or uneven textures remain, resume polishing until you obtain a defect-free mirror-like specimen surface.


IV. Post-Operation Shut-Down Workflow
- Sample Post-Cleaning: After polishing completes, take out your finished metallographic specimen. Rinse thoroughly with clean water to remove leftover polishing liquid and grinding debris. Perform solvent dehydration with ethanol, then dry the sample using compressed air or a laboratory hair dryer.
- Machine Maintenance & Cleaning for iPoli-2D-200M: Disconnect main power supply. Use running water plus a soft brush to clear grinding debris and polishing residues off grinding disc and polishing cloth. Wipe all parts dry with clean lint-free cloth. Replace heavily worn sandpaper and polishing cloth for next lab test runs.
- Consumable & Tool Housekeeping: Neatly organize used metallographic sandpaper, polishing liquid bottles, clamps and auxiliary tools, and store all lab consumables in designated storage locations.