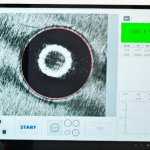
For material science labs, failure analysis workshops and manufacturing quality-control departments, the metallographic microscope is an indispensable optical instrument. It reveals the hidden internal microstructure of metallic materials, helping engineers evaluate grain structure, phase distribution, heat-treatment quality and material defects. Beginners often struggle with proper specimen preparation, microscope operation and daily equipment care. This practical blog walks you through the full workflow from sample cutting to image saving, together with common troubleshooting tips.
1. Metallographic Specimen Preparation
Before observing metal internal microstructure, proper surface treatment of the test piece is mandatory. Poor sample preparation will produce misleading images even with high-grade microscopes.
- Sectioning (Cutting Samples) Cut the raw metal workpiece into specimens suitable for the microscope stage. Generally, keep specimen dimensions within 50 mm × 50 mm to fit the stage mounting area. Avoid excessive heat generation during cutting, as high temperature can alter original metal microstructure.
- Mechanical Grinding Grind the cut surface sequentially with silicon-carbide abrasive papers of ascending fineness: 180-grit, 300-grit, 500-grit, 800-grit, 1200-grit, 1500-grit and 2000-grit. Each grit step must fully remove scratches left by the previous coarser paper. Keep samples wet during grinding to prevent thermal-induced microstructural damageInstitut f….
- Mechanical Polishing Polish the ground specimen on polishing cloth until all visible grinding scratches disappear and the metal surface achieves a bright, mirror-like finish. Insufficient polishing leaves residual scratches that interfere with microstructure identification.
- Chemical Etching Immerse the polished sample in 4% nital solution (nitric-acid alcohol etchant) for 5–10 seconds. This selective chemical attack reveals grain boundaries and phase contrasts for carbon-steel samples. After etching, rinse and dry the specimen thoroughly, then it is ready for microscope observation.
Important note: Etching time varies by alloy composition. Over-etching or under-etching will ruin metallographic viewing results.
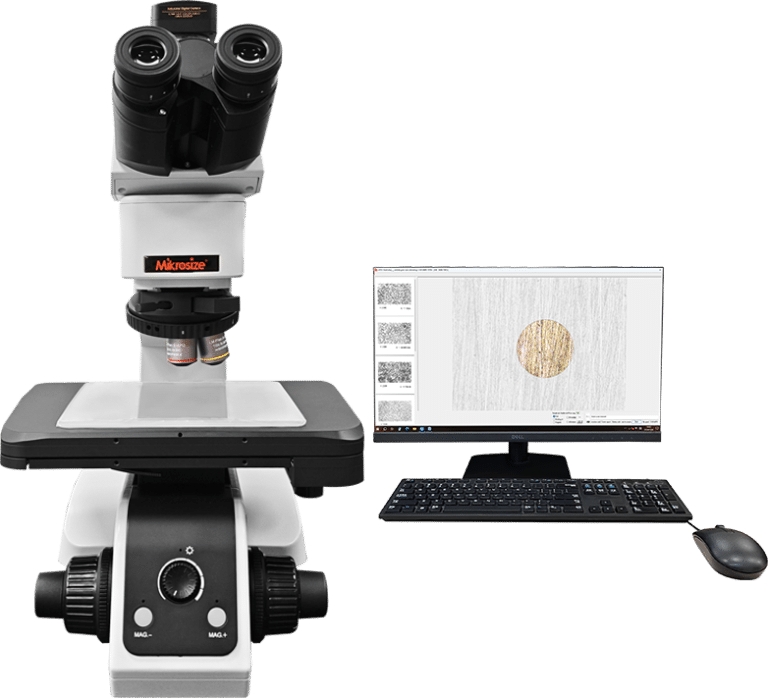
2. Metallographic Microscope Operating Procedure
The metallographic microscope uses reflected light from objectives and eyepieces to magnify the polished metal surface, so users can visualize the material’s internal microstructure. Follow these standard steps:
- Sample Placement Lay the etched metallographic specimen flat and horizontally on the microscope stage. Tilted samples will produce blurred, distorted imaging. Secure the sample with stage clips.
- Select Appropriate Magnification Common objective magnifications include 50×, 100×, 250×, 500× and 1000×. Always start observation at low magnification. Low power makes it far easier to locate your target viewing area. Rotate the objective turret step-by-step to switch toward higher magnification. At high magnification, strictly ensure the specimen surface stays perfectly horizontal to avoid fuzzy output.
- Focus and Frame Target Area Adjust coarse and fine focus knobs until you obtain a sharp view through the eyepiece, and position your target microstructure inside the field of view.
- Digital Image Capture & Adjustment Transfer real-time microscope signals to the connected computer. Click the freeze button to freeze the live frame, trigger the snapshot icon, and assign a local saving path for metallographic photos. On PC software, tune exposure, brightness and contrast to optimize image quality for reporting or documentation.
-1.jpg "How to Observe Metal Micro-Structure with a Metallographic Microscope: Complete Step-by-Step Guide 3")
3. Metallographic Microscope Daily Maintenance & Safety Reminders
Good maintenance extends objective service life and guarantees stable, repeatable metallographic imaging.
- Working environment: Place the microscope in a quiet, low-vibration laboratory area. External vibration causes image shaking and blurring, especially under high-power magnification.
- High-magnification risk warning: At high magnification, objectives sit extremely close to the specimen surface. When adjusting stage height, advance slowly and watch carefully. Collision between specimen and objective lens will scratch optical elements; objective replacement is very costly and normally requires factory-level service.
- Lab data security: Most dedicated metallographic imaging computers are kept offline. Prefer optical discs for data export. Avoid USB flash drives as they may introduce computer viruses and crash the image-acquisition software.
- Fault handling: If capture software stops working, run antivirus scans first. If the problem persists, contact professional lab-equipment technicians for repair, do not disassemble optical units by yourself.
.jpg "How to Observe Metal Micro-Structure with a Metallographic Microscope: Complete Step-by-Step Guide 4")
Frequently Asked Questions (QA)
Q1: Why must I etch metallographic specimens? Can I observe microstructure directly after polishing?
A: After polishing, the metal surface is a flat mirror. Grain boundaries and different phases reflect light at nearly identical intensity, so no microstructural contrast can be seen. Nital etching chemically attacks grain boundaries to generate visual contrast, which makes internal grains and phases distinguishable under reflected light microscopy.
Q2: My metallographic images keep blurry under high magnification. What are common causes?
A: Major causes include: specimen placed crookedly, heavy ambient vibration, incorrect focus, scratched objective lens, or leftover deep polishing scratches on sample surfaces. Verify sample flatness first, and inspect objective cleanliness. For stable high-resolution results, consider Mikrosize metallographic microscopes with rigid anti-vibration mechanical frames.
Q3: Is 4% nital suitable for all metal alloys?
A: No. 4% nital works best for carbon steel and low-alloy steel. Stainless steel, aluminum alloy, copper alloy require different specialized etchants. Always select etchant formulas matching your material type.
Q4: Should I start observation with the highest magnification objective to see fine grains faster?
A: Definitely not. Always start with low-magnification objectives (50× or 100×). Low power gives a wide field-of-view for quick location of your target region. Jumping straight to high magnification makes specimen positioning extremely difficult.
Q5: What should I do if USB drives break my metallographic capture software?
A: Most lab imaging PCs are isolated from the internet. Use CD/DVD discs for file backup. If software malfunctions, run anti-virus checks. If issues remain unresolved, reach out to equipment suppliers such as Mikrosize for technical support instead of self-modifying system files.
Q6: How can I avoid scratching expensive microscope objectives?
A: When raising the mechanical stage, watch the gap between sample surface and objective lens. Operate coarse focus cautiously. Many Mikrosize metallographic microscopes feature mechanical limit stops to reduce collision risks during operation.
-2.jpg "How to Observe Metal Micro-Structure with a Metallographic Microscope: Complete Step-by-Step Guide 5")
Conclusion
Metallographic microscopy is a core analytical technique for investigating metal internal microstructure. Reliable observation depends on three critical links: high-quality metallographic specimen preparation, correct microscope operating habits, and rigorous daily instrument maintenance. Cutting, sequential grinding, mirror polishing and controlled chemical etching lay the foundation for trustworthy metallographic images. Always begin observation under low magnification, take care to prevent objective-sample collision, and follow lab rules for offline data storage.
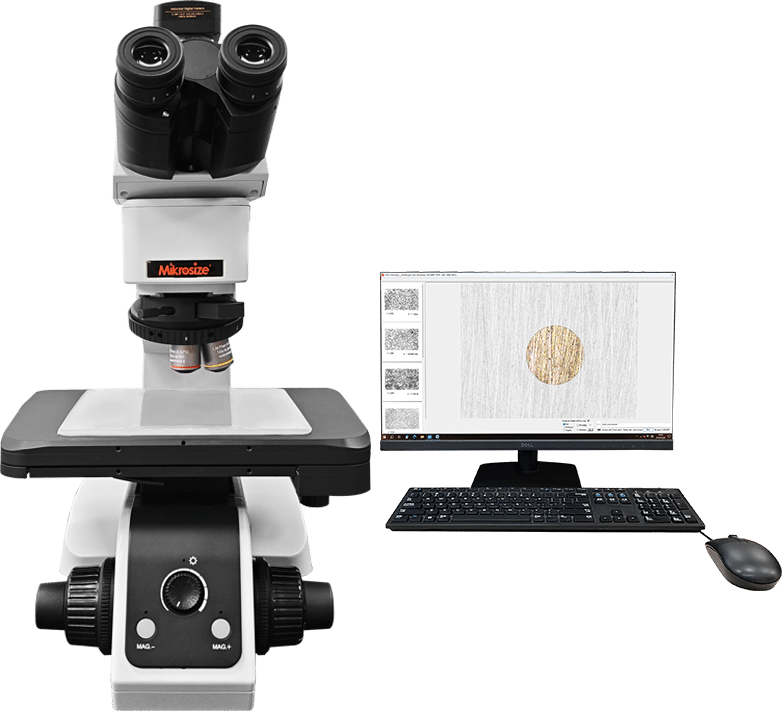
If your laboratory needs stable, cost-effective metallographic microscope solutions for routine QC, failure analysis or academic research, Mikrosize delivers a complete lineup of upright and inverted metallographic microscopes. Mikrosize optical systems support digital image capture, comply with mainstream ASTM and ISO metallography standards, and come with anti-collision protection for objectives, helping material-testing teams obtain clear, repeatable metal microstructure photographs efficiently.
-150x150.jpg)