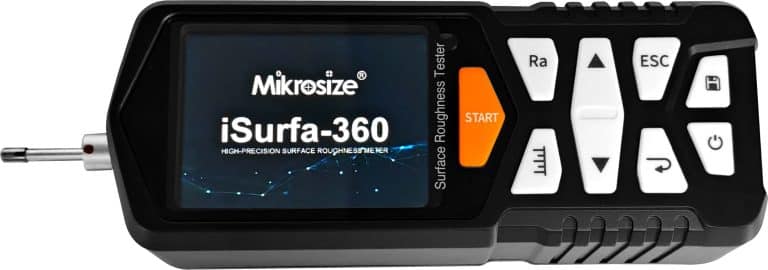
A surface roughness tester is a precision instrument designed to measure surface finish, one of the most critical quality indicators in machining, manufacturing and quality control. Yet even a high-quality portable surface roughness tester can deliver unreliable results if it is not maintained properly. Daily care, correct parameter settings and disciplined measurement habits are the keys to accurate surface roughness measurement and a long service life. This guide explains the complete surface roughness tester maintenance routine and the measurement precautions every QC team should follow.
Daily Maintenance of a Surface Roughness Tester
Keep the Main Unit Clean
Wipe the main unit regularly with a soft, dry cloth to remove dust from its surface. Avoid wet cloths or chemical solvents, which can damage the display and internal electronic components. A surface roughness tester is a precision measuring instrument: always handle it gently and keep it away from vibration, dropping or any hard impact.
Protect the Stylus and Sensor
The stylus sensor is the most delicate part of any surface roughness tester, and most accuracy problems start here. Follow these rules every day:
- Be extremely careful when inserting or removing the sensor. Never touch the guide or the stylus tip — hold the sensor by the base of the guide holder (the front part of the main body) when connecting or disconnecting it.
- Return the sensor to its designated storage area immediately after each measurement.
- Never store the roughness tester with the sensor facing downward. Keeping the stylus pressed in for a long time causes overpressure and abnormal wear of the stylus tip.
- Avoid any knock, bump or drop. The sensor is a precision component, and even a small impact can permanently damage the stylus and ruin measurement accuracy.
Care for the Calibration Specimen
Keep the surface of the calibration specimen clean at all times and avoid scratching its working area. The calibration specimen is the reference for every reading: a dirty or damaged specimen produces wrong calibration values and leads to unreliable surface finish measurement.
Battery Management
Watch the battery indicator regularly. When the low-voltage symbol appears, charge the tester promptly. Charging time is about three hours; avoid prolonged overcharging, which can damage the battery and shorten its service life.
Set the Right Parameters Before Measuring
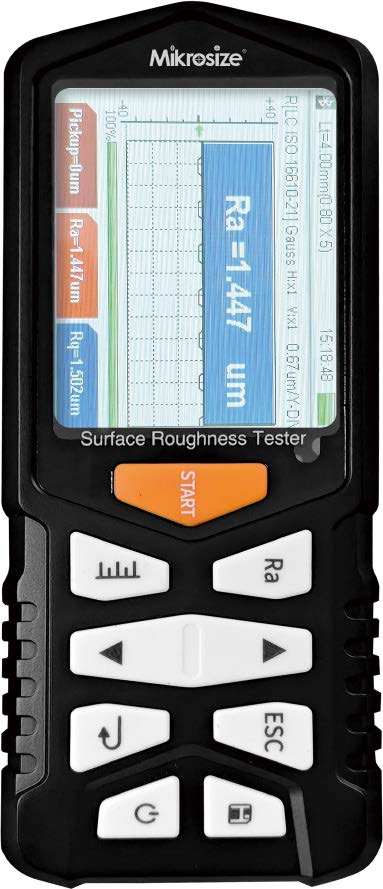
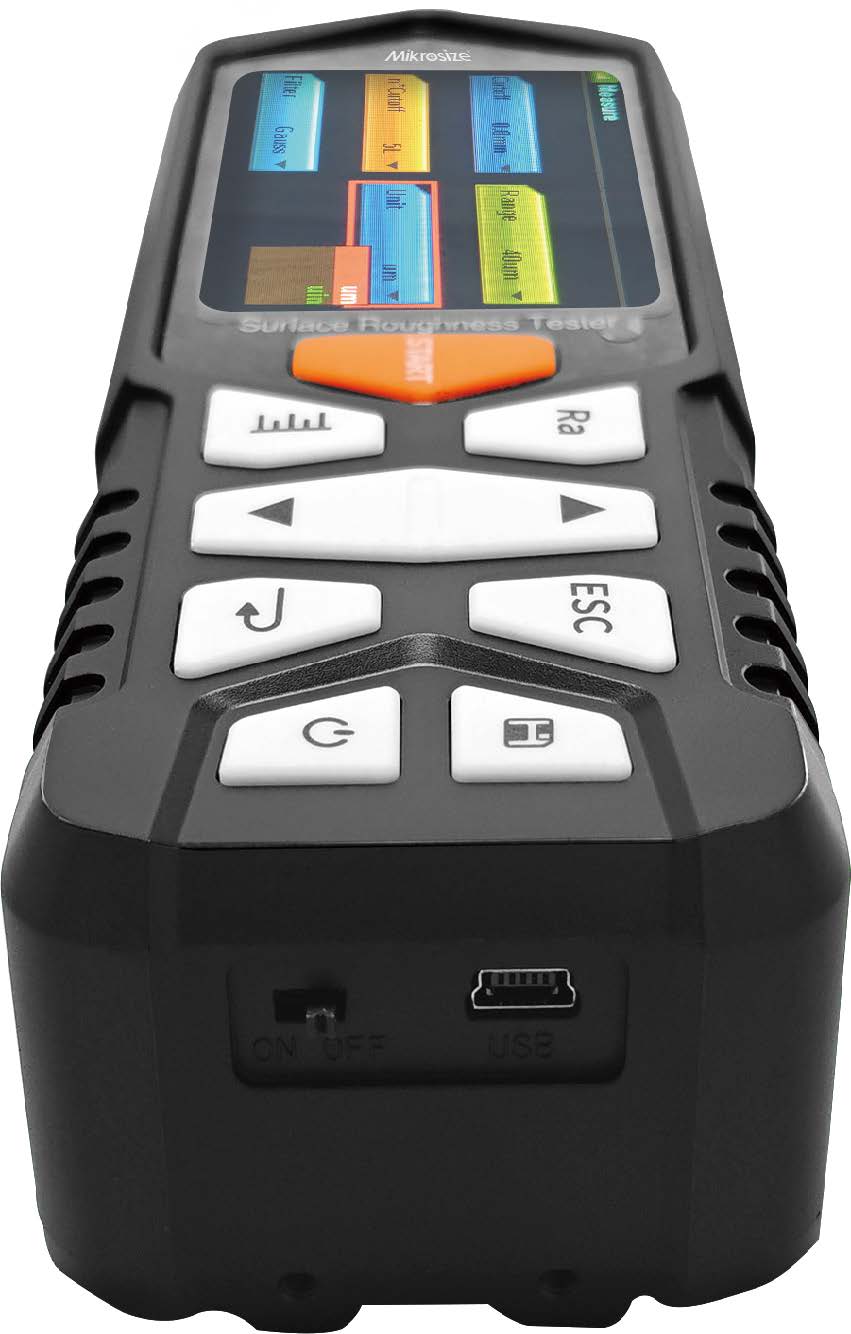
Correct parameter settings are part of daily care for measurement accuracy. For general Ra value measurement, the following settings are recommended.
Sampling Length (Cut-off)
Select the sampling length according to the expected Ra value:
- Ra 0.02 – 0.32 μm: sampling length 0.25 mm
- Ra 0.32 – 2.5 μm: sampling length 0.8 mm
- Ra 2.5 – 10 μm: sampling length 2.5 mm
Evaluation Length
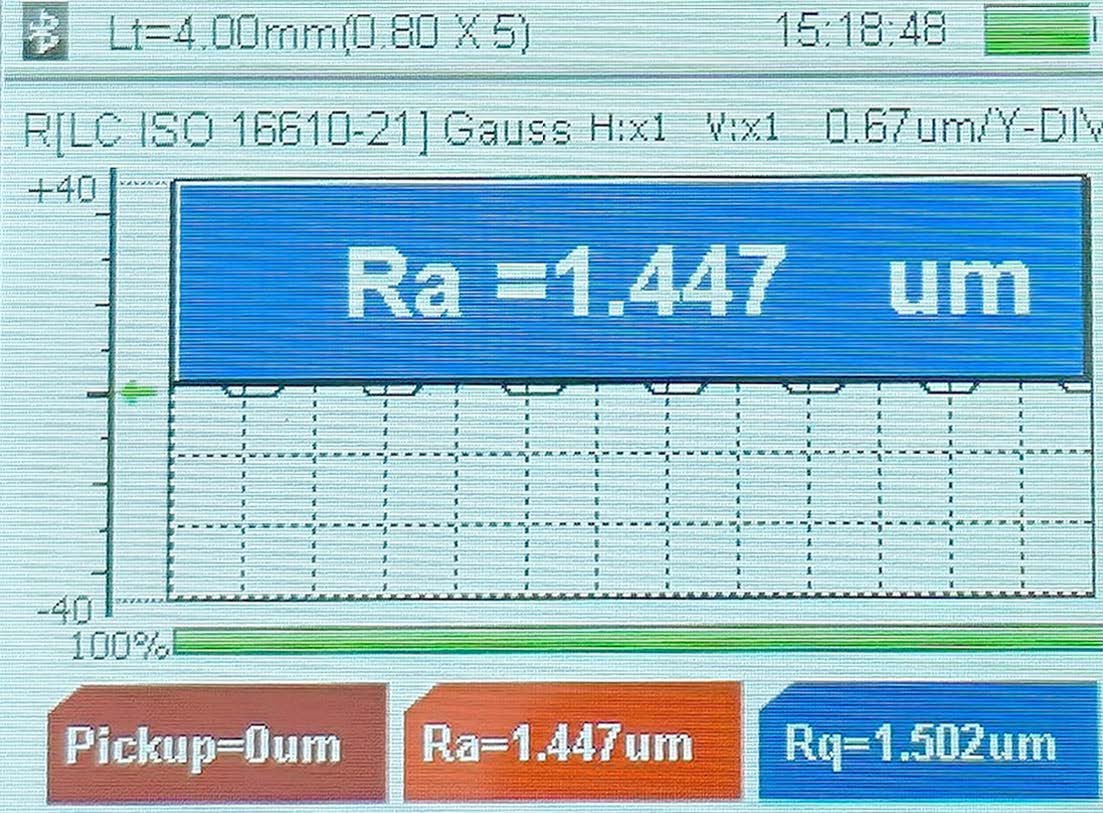
Use the standard recommended evaluation length, which contains five sampling lengths (1n = 5l). For example, with a 0.8 mm sampling length, the evaluation length is 4.0 mm. This keeps Ra readings stable and comparable across measurements.
Measuring Range and Filter
Set the measuring range to 40 μm for general surface roughness measurement, and select the Gaussian filter (Gauss). The Gaussian filter is the new-standard roughness filter: it separates the roughness profile from waviness and delivers stable, standardized results.
Measurement Precautions — How to Use a Surface Roughness Tester Correctly
Following the right procedure during measurement is just as important as daily care. These precautions prevent sensor damage and eliminate the most common sources of measurement error:
- Clean the workpiece surface before measuring. Remove oil, water, dust and cutting fluid residue. A clean surface prevents the sensor from rusting, extends its service life and guarantees accurate surface roughness measurement.
- Place the instrument correctly, smoothly and firmly on the surface to be measured. An unstable position produces false readings.
- Keep the stylus traverse perpendicular to the machining lay direction of the workpiece surface. Measuring along the machining texture instead of across it produces incorrect — usually too low — Ra values.
- Check the working environment: temperature 0 – 40 °C and humidity below 90 % RH. Never measure objects whose surface temperature exceeds 40 °C, and never measure freshly rolled rolls or steel coils immediately after rolling — residual heat can damage the sensor.
- Calibrate the surface roughness tester at least once a week using the calibration specimen to guarantee measurement accuracy over time.
Conclusion
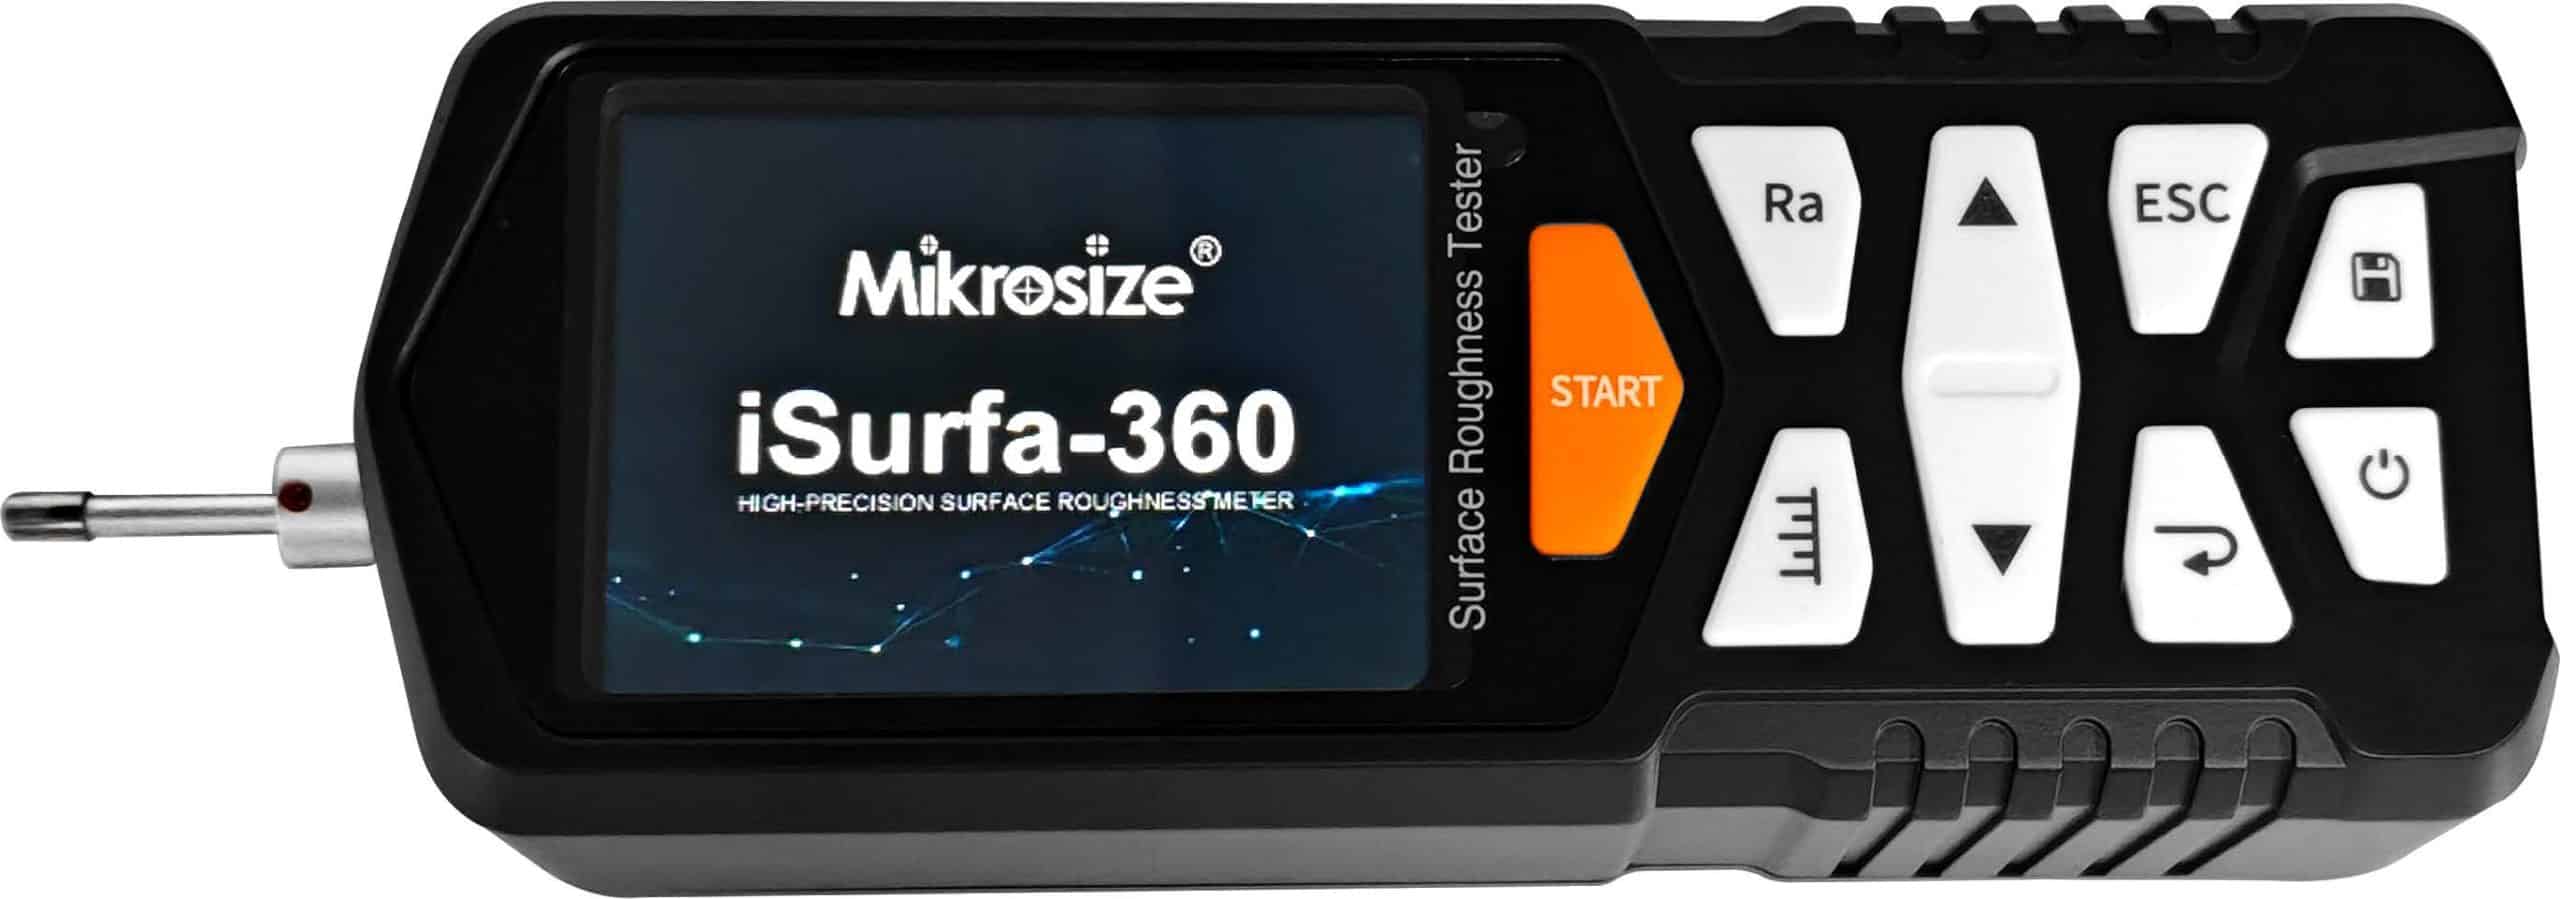
A surface roughness tester is only as reliable as the care it receives. With regular daily maintenance, correct parameter settings and disciplined measurement habits, you keep your surface roughness measurement accurate, protect the fragile stylus sensor and avoid costly repairs and rework. When you choose a roughness tester for your quality control line, look for an instrument that combines precision, durability and professional support. Mikrosize is committed to supplying reliable surface roughness testers and precision measuring instruments for global manufacturing and QC applications. Our instruments are engineered for long-term stability, and our team provides professional guidance on calibration, maintenance and surface finish measurement to help you achieve dependable results every day.
-150x150.jpg)