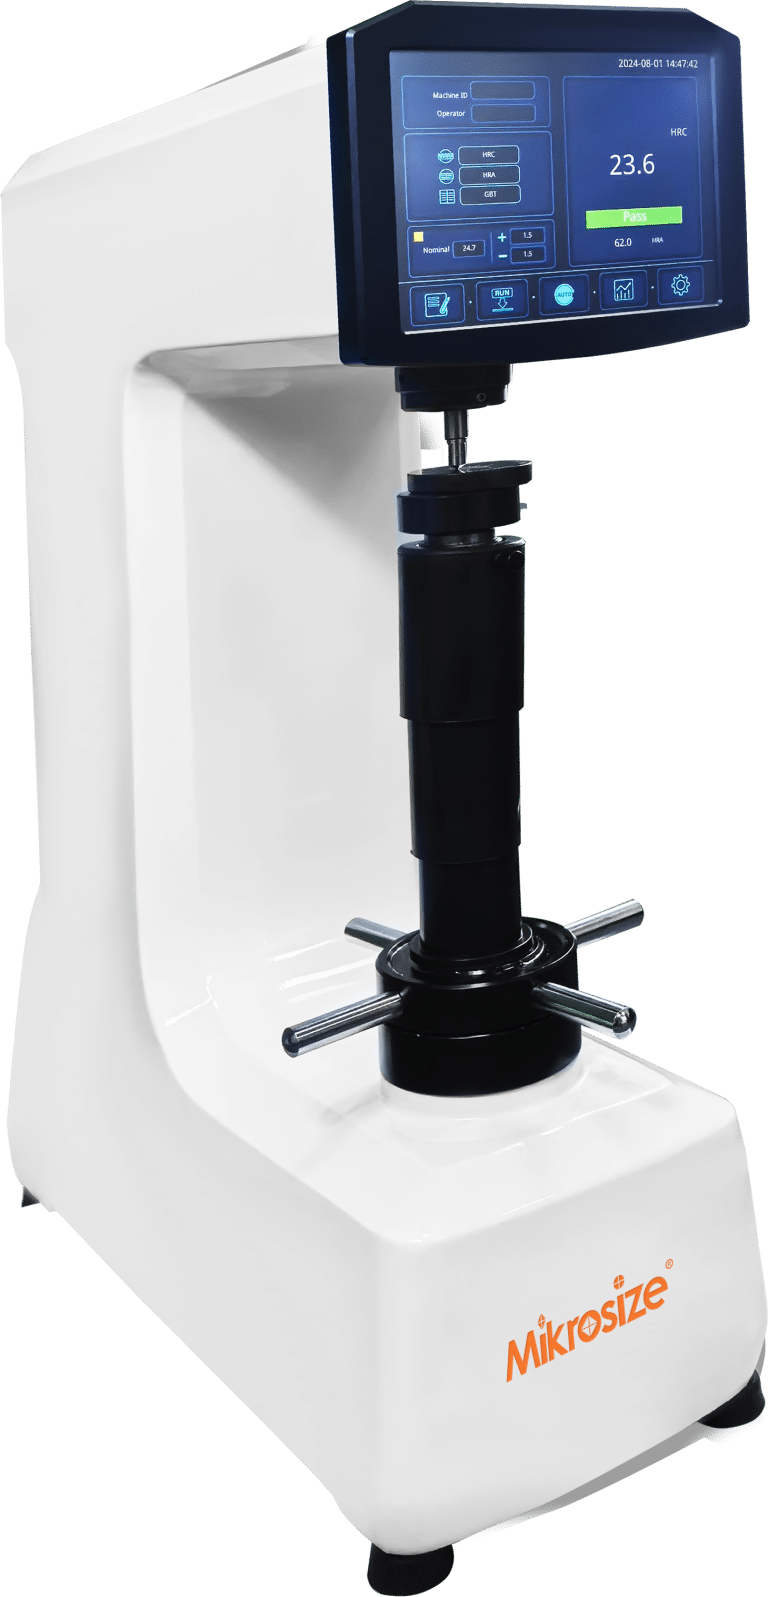
If you work in quality control, metal processing or material laboratories, knowing how to operate a Rockwell hardness tester correctly is essential for reliable material hardness inspection. Many operators get inconsistent test results due to improper sample setup, wrong indenter choice or incorrect dial reading. This article walks you through the full workflow for manual analog Rockwell hardness testers and shares key best-practice tips for repeatable test data.
Pre-Test Preparation for Rockwell Hardness Testing
Before starting any Rockwell hardness test, complete these preparation checks to avoid invalid readings:
1.Confirm your hardness instrument is calibrated and verified with certified reference hardness blocks. Always use well-maintained equipment for industrial hardness testing.
2.Verify specimen thickness: the sample thickness must be greater than 10 times the expected indentation depth. Thin workpieces will produce misleading hardness values.
3.Select the proper worktable/anvil according to your specimen shape: flat anvil for flat parts, V-type anvil for cylindrical or round samples.
4.Pick the matching indenter (diamond cone or steel ball) and set the correct total test load based on your material and target Rockwell scale (HRC / HRB etc.).

Step-by-Step Operating Procedure
Step 1: Mount specimen and apply preliminary minor load
Place your cleaned specimen firmly on the selected worktable. Slowly rotate the elevating handwheel to lift the worktable upwards until the indenter presses about 0.6 mm into the sample surface.
On the analog indicator dial, the small pointer should point to mark “3”. Adjust the dial bezel manually if the large pointer is slightly offset from the B-C reference marks. This step completes minor pre-load application, which is critical for eliminating surface gap errors in Rockwell hardness measurement.
Step 2: Apply the major test load
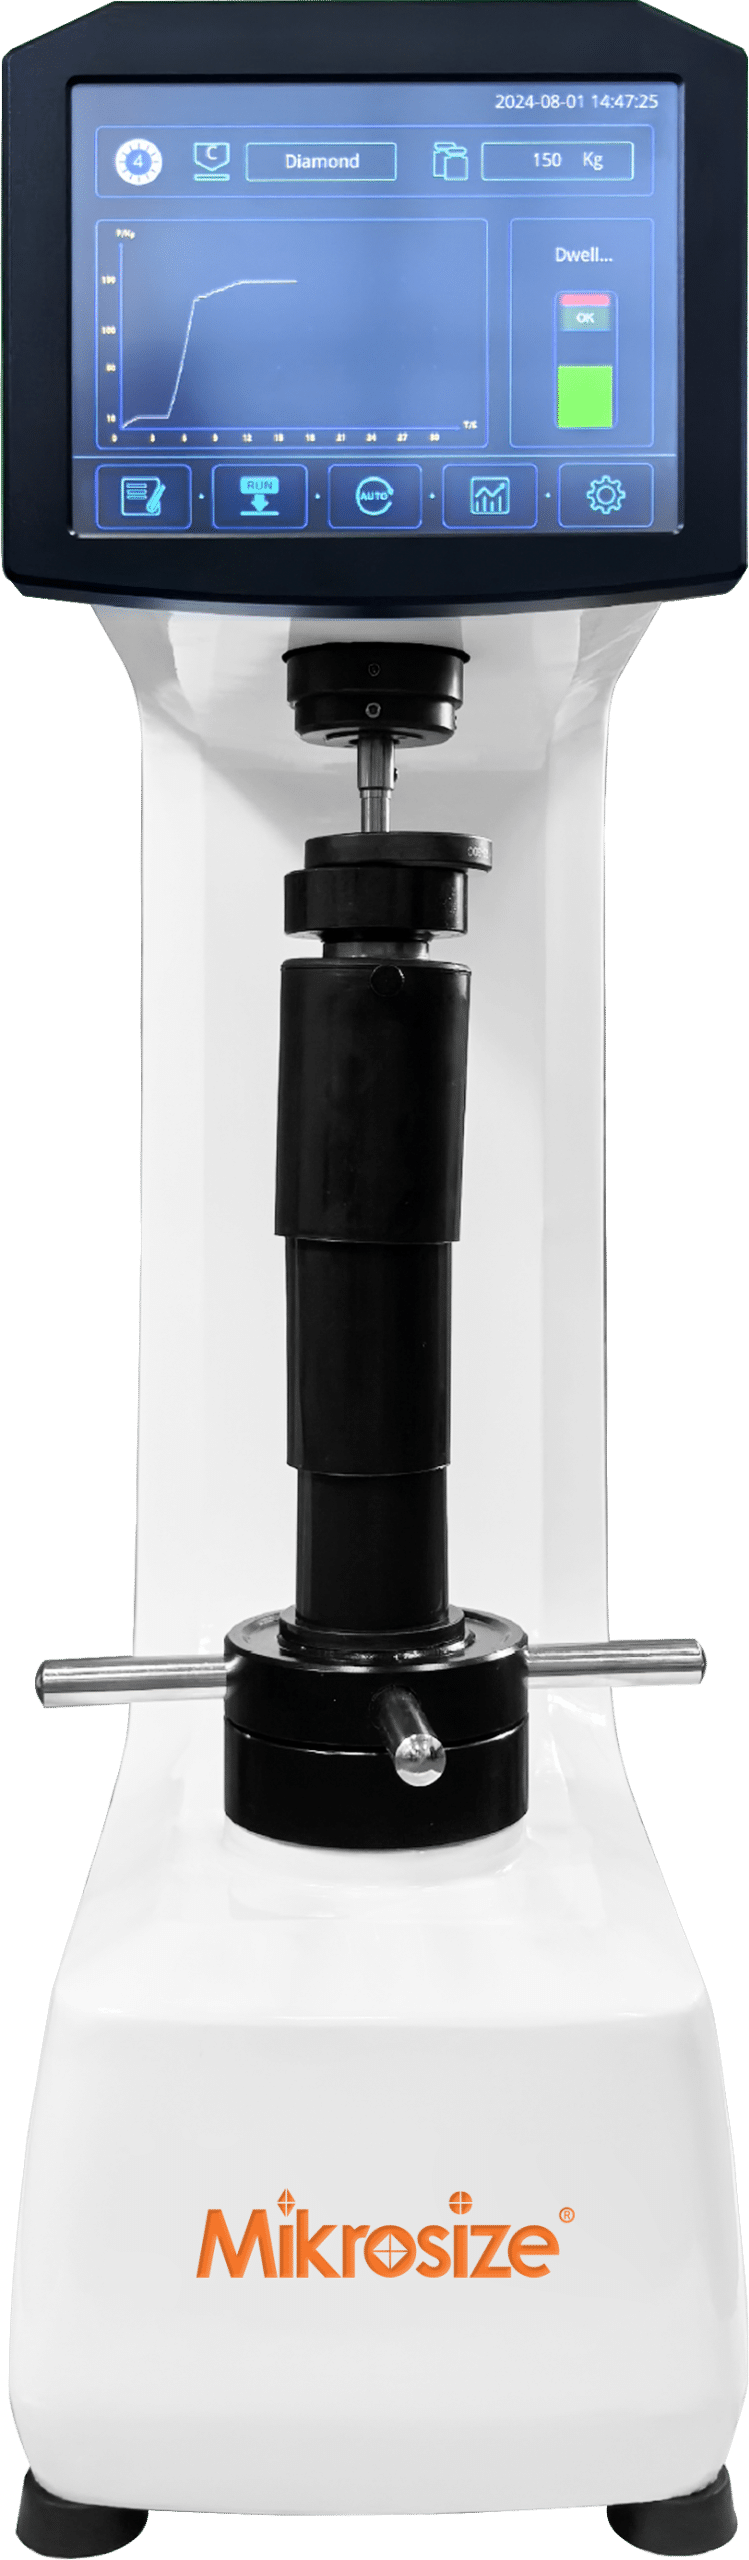
After dial alignment, smoothly pull the loading lever forward to engage the major load onto the indenter. Maintain this full-load dwell time for 10-15 seconds. The exact dwell period can be adjusted following your instrument manual or material test specifications. Keep hands away from the testing head during loading.
Step 3: Release major load while keeping minor pre-load
Wait until the dial pointer movement visibly stabilizes and stops fluctuating. Push the unloading lever back gently to remove the major test load. The minor preliminary load remains applied throughout this step — do NOT lower the worktable yet. At this stage, the long pointer on the dial shows your measured hardness reading.
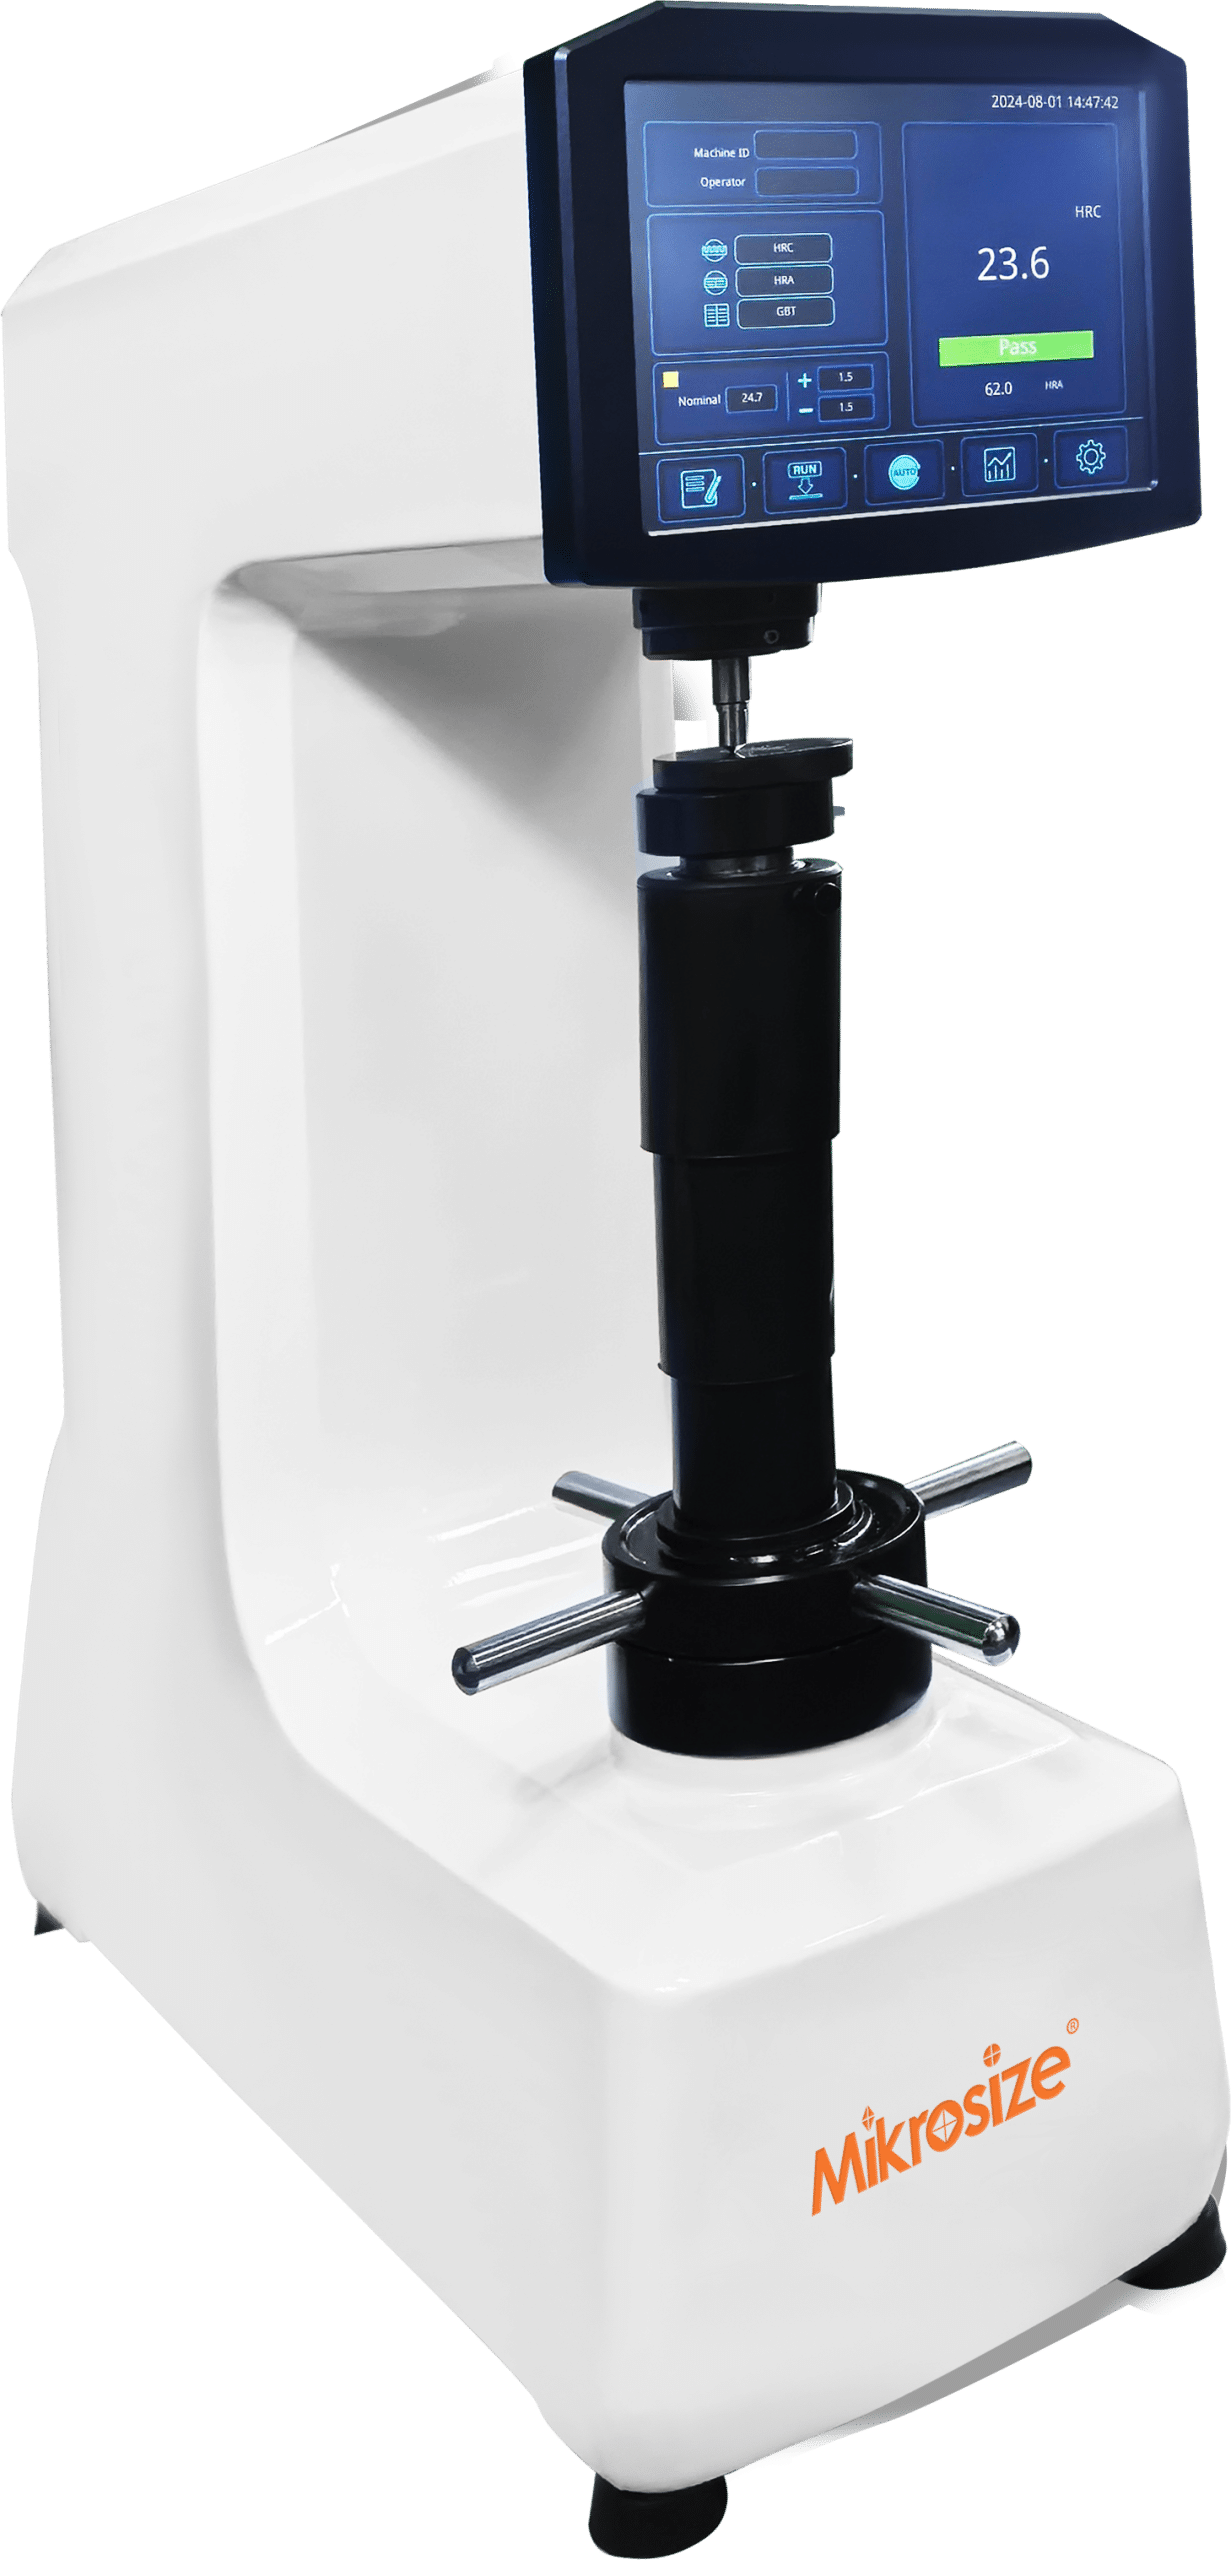
Step 4: Read your Rockwell hardness value correctly
Read values from the corresponding dial scale according to your indenter type:
- Use outer black scale: for diamond cone indenters (common for HRC testing of hard steels)
- Use inner red scale: for steel-ball indenters (mostly HRB scale for softer metals)
Mix-up between red and black scales is one of the most frequent causes of wrong hardness reports in shop-floor hardness inspection.
Step 5: Relocate specimen for repeated measurements
Turn the handwheel counter-clockwise to lower the worktable and release the sample. Shift your specimen to a brand-new test location. Important rule: the center-to-center distance between two adjacent indentations must be no less than 3 mm, preventing interference from surrounding plastic deformation zones.
Step 6: Take multiple test readings
For trustworthy test conclusions, perform no fewer than three separate hardness measurements on different positions of one specimen. Multiple readings help you spot local material variation and reduce random operator error.

Critical Notes for Reliable Rockwell Hardness Test Results
- Different brands and models of bench-top Rockwell hardness testers may have slight differences in lever operation and dwell-time recommendations. Always read and strictly follow the original manufacturer operation manual.
- Periodic calibration with standard hardness reference blocks is mandatory to guarantee measurement accuracy over long-term daily use.
- Ensure specimen surfaces are clean, flat and free of scale, burrs or coatings before running Rockwell hardness testing. Dirty or uneven surfaces will directly distort indentation shapes.
Conclusion
Mastering Rockwell hardness tester operation relies on standardized sample preparation, correct indenter-load configuration, proper dwell-time control and accurate dial-scale reading. Skipping any preparation step can lead to unreliable quality-control judgements for metal parts.
For factories and laboratories seeking stable, cost-effective measuring instruments, Mikrosize delivers professional hardness testers and comprehensive material-testing solutions. Founded in 2009, Mikrosize provides high-precision hardness testing equipment, complete technical guidance and global after-sales support to customers across more than 40 countries, helping users achieve consistent and precise material hardness measurement.