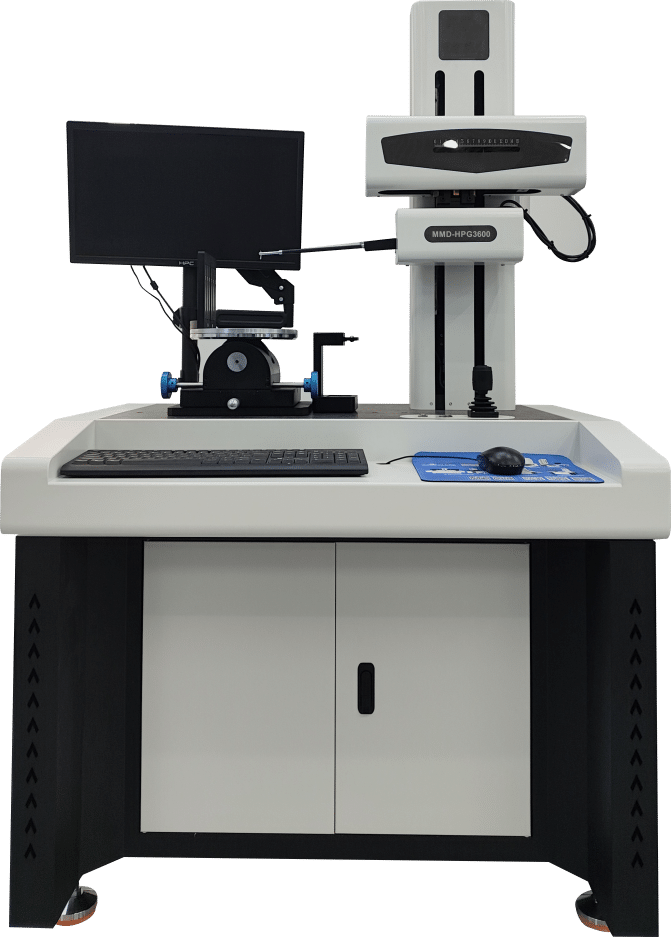
Hi everyone! If you work in quality control, manufacturing or materials research, you probably need reliable surface-metrology tools on a daily basis. Today we are breaking down practical operating tips for the MMD-HPG3600 roughness and profile measuring machine, a high-end metrology instrument manufactured by Mikrosize, a well-known supplier of precision measurement equipment.
Mikrosize has long specialized in building premium-grade inspection hardware, and the MMD-HPG3600 surface roughness profiler stands out as one of its most popular workhorse models.
Equipment Installation
After unboxing your MMD-HPG3600 roughness tester, place the unit on a stable, vibration-free work surface. Vibration interference will directly compromise measurement repeatability, so this setup step cannot be skipped. The unit comes fitted with a users-friendly control panel for straightforward daily operations.
Power-on & Automatic Initialization
Powering up the MMD-HPG3600 profile and roughness measuring system is simple. Press the main power button, and the device will run its boot-up routine. During initialization, the instrument runs auto calibration for surface metrology automatically to guarantee consistent, trustworthy measurement outputs.
How to Perform Surface Roughness Measurement
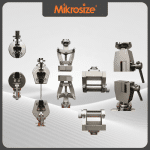
When carrying out surface roughness measurement for machined parts, start by picking the correct stylus probe for your workpiece. The MMD-HPG3600 supports multiple interchangeable stylus probes to accommodate diverse component geometries and surface finishes.
Mount and lower the selected stylus carefully onto your test sample; confirm good physical contact between the stylus tip and target surface. On the control panel, select the roughness measurement mode. Next, configure critical metrology parameters including cut-off length and evaluation length. These settings govern how the system computes surface roughness parameters, so double-check them before testing.
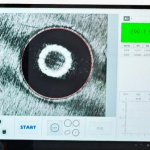
Hit the start button, and the instrument commences surface scanning. Within moments, quantitative roughness results populate the display screen.
How to Run Profile Measurement
2D profile measurement for component geometry inspection follows a similar workflow. Adjust stylus position according to your part’s physical shape. Thanks to its high-precision motion control system, the MMD-HPG3600 delivers highly accurate positioning performance.
Select the profile measurement function on the panel, then define your profile start point and end point. The stylus traces along the target profile path. In just a few seconds, a full-resolution profile graph loads on-screen. You can interpret key geometric metrics directly from this output: feature height, feature width, and surface defects or irregularities.
Measurement Data Storage & Post-Measurement Analysis
A standout feature of this unit is its robust measurement data logging and analysis function. Once tests finish, you can save raw measurement datasets for later review. The native Mikrosize embedded software enables flexible data processing: generate formal inspection reports, compare sets of measurement readings, and export measurement files to third-party software for further deep analysis.
Wrap-up
All in all, the Mikrosize MMD-HPG3600 roughness and profile measuring machine combines powerful metrology performance with approachable operation. It fits perfectly for production workshops, R&D laboratories, and any industry that demands high-precision surface profile and roughness testing.