-768x452.png "Troubleshooting Common Issues for Metallurgical‑Microscope Troubleshooting 1")
Have you ever wondered why is my metallographic microscope blurry, or struggled with metallurgical microscope cannot focus at high magnification? Metallographic microscopes, also known as material‑analysis reflected‑light microscopes or metallurgical inspection microscopes, act as core observation hardware, primary testing apparatuses and key visual‑inspection devices for metallographic material characterization, material microstructure evaluation and component failure‑mode analysis. These lab instruments are extensively utilized within university material‑science research labs, metal‑manufacturing quality‑control stations, industrial metal‑processing workshops, third‑party material‑testing facilities, and commercial analytical laboratories. Even so, users frequently run into black spots in field of view metallurgical microscope, non‑uniform Köhler illumination and other unexpected imaging defects, abnormal visual output faults, and unwanted optical‑image glitches during day‑to‑day operational use, holding back sample‑testing cycles and slowing down routine lab workflows. This blog post delivers actionable fixes for metallographic microscope common problems, including how to clean objective lens on metallography microscope and solving metallurgical microscope condenser alignment issues.
1. Blurry Images: Full‑Workflow Checks from Focusing to Sample Mounting
Blurred microscope visuals, out‑of‑focus specimen imagery, and hazy field‑of‑view outputs belong to the most widely‑encountered equipment malfunctions. Typical symptoms cover overall picture haziness, loss of fine microstructural details, faded specimen features, alongside field‑of‑view defocus after switching magnification levels, even metallographic microscope parfocality problem when switching objectives. Novice lab operators frequently find it challenging to locate specimen target zones under high‑magnification objective lenses. Stick to these practical step‑by‑step troubleshooting guidelines.
- Specimen‑loading & stage‑mount verification: Double‑check whether your metallographic test specimen, polished sample coupon is firmly locked down by the specimen holding clip, sample retention fixture. Ensure its mirror‑polished observation surface, flat polished facet sits flush against the microscope stage. A warped, tilted or lifted sample piece will bring about focus drift errors, focus‑offset anomalies. Roughly 30 % of blurry‑image breakdowns, fuzzy‑picture malfunctions on mass‑production factory floors arise because lab technicians skip the sample‑clamping operating step.
- Objective lens fitting & installation inspection: While shifting from low‑magnification settings up to high‑power magnification modes, make certain each objective lens assembly, objective optic unit is fully screwed into place. Improperly seated optics trigger optical‑path misalignment, light‑path deviation defects. Loose objective turret latches and wobbly objective holders directly produce focus‑adjustment failures.
- Focus‑tuning calibration workflow: Kick off your observation with the 10× low‑magnification objective optic. Spin the coarse focus adjustment knob, coarse focusing dial to bring specimen contours and sample outlines into sight. Afterwards switch over to your target magnification setting and carry out fine adjustments with the fine‑tune focusing knob, precision focus dial. Never attempt direct focusing using a 100× oil‑immersion objective lens, as this risky operation may scratch specimen surfaces or inflict permanent damage on expensive optical assemblies.
Q: Focusing adjustment keeps failing after placing a brand‑new test specimen onto the stage.
A: First inspect the microscope stage for leftover polishing compound residues, abrasive polishing‑agent debris. Thoroughly clear away surface contaminants before remounting your sample coupon for observation.
.png "Troubleshooting Common Issues for Metallurgical‑Microscope Troubleshooting 2")
2. Fixed Stains in the Field of View: Locate Contamination Sources Rapidly
Stationary dark blemishes, permanent black specks and fixed grey smudges within your viewing window signal optical‑system contamination, internal optic‑path soiling. When you slide the specimen stage around yet these discoloration marks stay locked in identical field‑of‑view positions, run through this three‑step diagnostic routine for root‑cause identification.
- Specimen‑surface condition self‑check: Slowly shift the specimen stage assembly. If dark blemishes move in tandem with your test sample, surface pollutants including leftover polishing powder, oil residues or fingerprint smudges are present on your specimen facet. Gently wipe the polished observation side using lint‑free non‑woven swabs, particle‑free cotton applicators dampened with anhydrous ethanol. Allow complete solvent evaporation before restarting your microscopic inspection work.
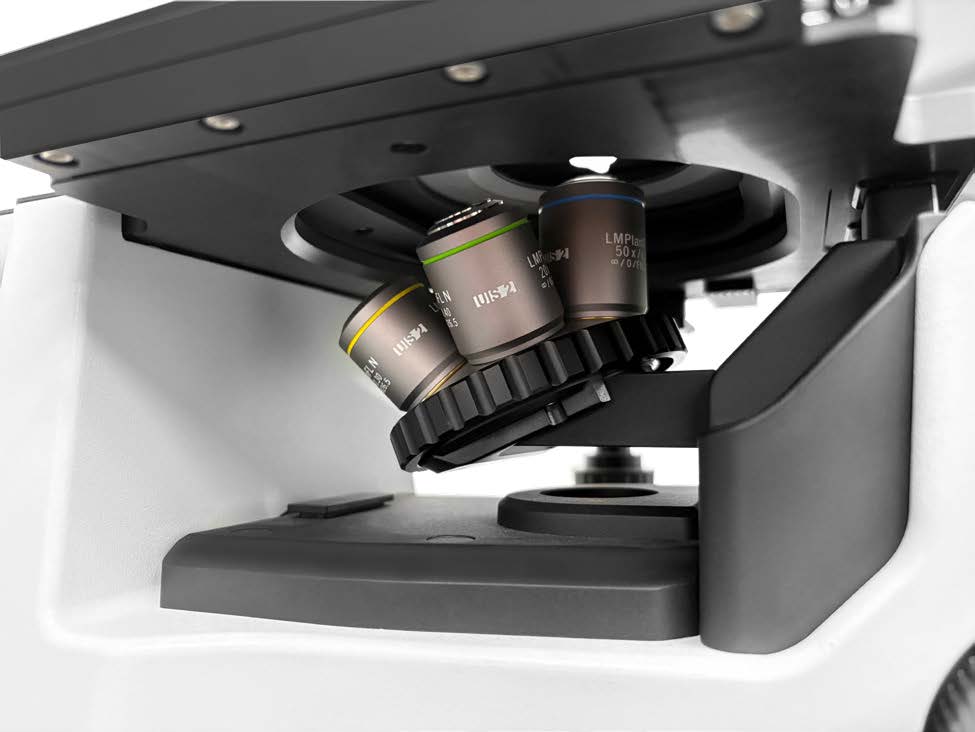
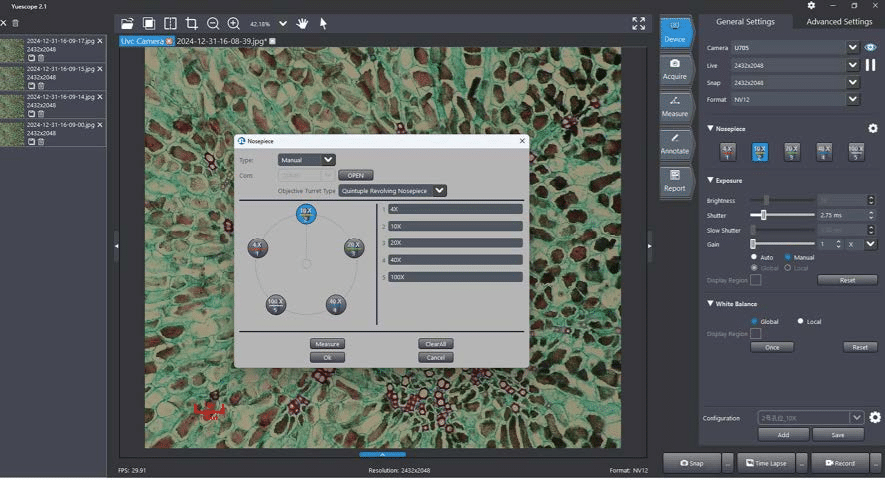
- Front‑lens contamination troubleshooting: Rotate the objective revolving nosepiece / objective turret. If spots shift together with the selected optic, the front surface of that specific objective lens unit has collected grime. This covers the core operation of how to clean objective lens on metallography microscope. Apply a tiny volume of optical‑lens cleaning fluid, precision optic‑washing solution onto professional lens tissue for soft, careful surface wiping. Ordinary household paper towels and standard cotton swabs are strictly forbidden; these coarse supplies can leave permanent scratches on delicate anti‑reflection optical coatings.
- Internal light‑path diagnostic inspection: When blemishes remain unchanged even as you rotate the objective turret, dirt has collected on eyepiece optics, ocular lenses or the condenser lens assembly. Clean eyepiece lens surfaces first. If visual artifacts persist, re‑calibrate condenser centering parameters to resolve metallurgical microscope condenser alignment issues or reach out to after‑sales technicians for professional deep optical‑path cleaning services.
3. Uneven Illumination: Calibration and Repair from Light Source to Optical Path
Non‑uniform field‑of‑view brightness, non‑uniform Köhler illumination, unbalanced lighting performance shows up as half‑shadowed half‑bright viewing windows or bright central zones paired with dim, dark outer edges. If you are searching for how to fix uneven illumination on metallographic microscope, follow the practical guidance below. This lighting defect severely distorts metallographic microstructure viewing, microstructural feature identification. Follow these calibration and adjustment measures.
- Light‑source output intensity validation: Confirm the brightness‑control dial stays locked on a consistent setting. Multi‑channel microscope models may demand channel‑parameter recalibration whenever inconsistent lamp‑output performance occurs.
- Condenser centering & alignment calibration: Choose the 20× intermediate‑power objective lens, fully open up the aperture iris diaphragm, illumination aperture stop. Tweak the centering adjustment screws sitting underneath the condenser housing, so the center of light spot perfectly lines up with your field‑of‑view center. Dial back the aperture iris diaphragm down to approximately one‑third of its maximum opening value for superior lighting homogeneity. This step is critical for solving metallurgical microscope condenser alignment issues.
- Light‑source component aging troubleshooting: After roughly 2000 cumulative operating hours, halogen lamp bulbs suffer from luminous‑intensity degradation, reduced light‑emitting efficiency. Complete halogen lamp replacement for metallographic microscope with genuine, matching‑specification replacement lamp units. For non‑stop round‑the‑clock industrial production‑floor applications, lamp replacement every six months represents the recommended maintenance schedule.
The vast majority of day‑to‑day operational faults, frequently‑seen optical‑image malfunctions can get sorted out within 10 minutes by executing the above‑listed adjustment steps, without generating extra after‑sales service charges or third‑party maintenance expenses. Being high‑precision delicate optical apparatuses, metallographic inspection microscopes, metallurgical analysis microscopes require consistent preventive maintenance work. Following metallography microscope maintenance tips: keep specimen stage surfaces spotless, schedule periodic optic‑component cleaning sessions, and swap out degraded light‑source hardware in a timely manner to bring down overall equipment‑failure probabilities.
Conclusion
Learning quick on‑site diagnostic skills for metallographic examination microscopes helps resolve typical pain points such as why is my metallographic microscope blurry, metallurgical microscope cannot focus at high magnification, black spots in field of view metallurgical microscope and metallurgical microscope condenser alignment issues. Mastering metallography microscope maintenance tips effectively improves lab‑station throughput and factory‑floor testing productivity, cutting operational downtime triggered by fixed dark artifacts, optical‑path fouling and minor mechanical glitches. Consistent standardized preventive‑maintenance workflows also play an irreplaceable role in preserving long‑term instrument stability and reliable measurement performance. Whenever complicated stubborn equipment failures cannot be resolved through on‑site manual adjustments, specialized expert technical assistance becomes indispensable. As a well‑established supplier delivering high‑grade metallographic microscopy hardware, Mikrosize supplies robust, durable microscope units, hands‑on application‑operation guidance, alongside dependable global‑reach after‑sales technical support for material‑science research laboratories and industrial quality‑control departments all over the world. By investing in well‑engineered analytical hardware and complying with standardized operating procedures plus routine maintenance checklists, lab personnel and factory technicians can maximize equipment service uptime, and acquire precise, highly‑repeatable metallographic inspection and micro‑observation outcomes.
-150x150.jpg)