I. Pre-operation Preparation
- Equipment Inspection
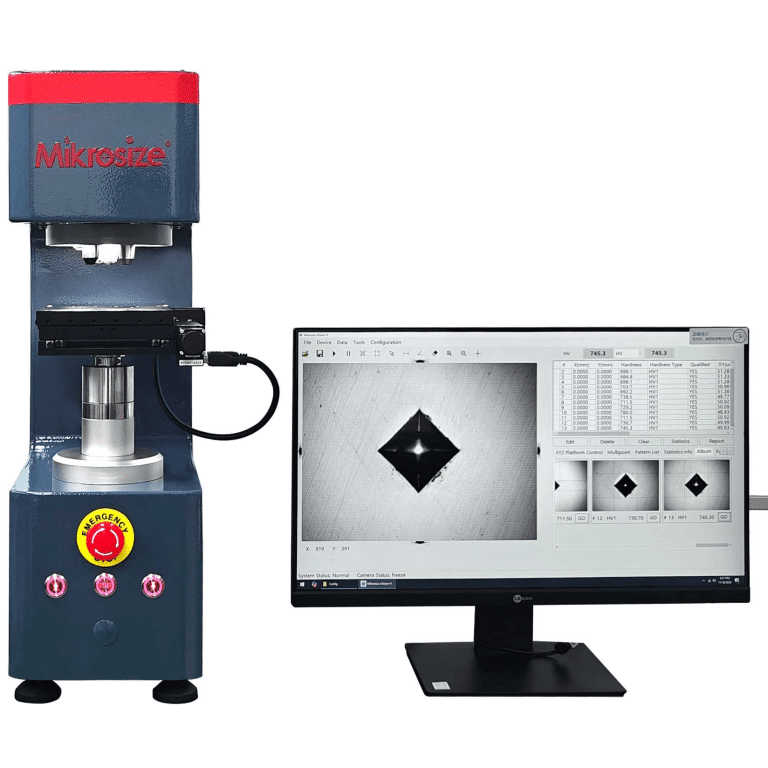
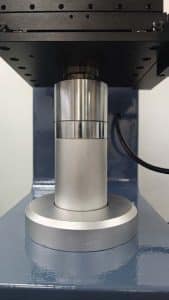
Inspect the exterior of the uVicky-AI fully automatic intelligent Vickers hardness tester for damage and verify all components are securely assembled. Check that the indenter is tightly mounted and free of abrasion. Replace the indenter immediately if scratches or deformation are found, as defects will drastically compromise test accuracy. Meanwhile, confirm the touchscreen and all control buttons function normally.
- Specimen Preparation
Select specimens matching test requirements; the testing surface must be flat and smooth. Rough surfaces require polishing to avoid severe measurement errors. Use specimens of appropriate dimensions that can sit stably on the instrument stage. Per testing standards, specimen thickness shall be at least 10 times the indentation depth to guarantee valid results. If oil stains or oxide layers cover the surface, clean the specimen with a suitable solvent and dry thoroughly with a lint-free cloth.
- Environmental Requirements
Place the instrument on a stable, vibration-free workbench. The workspace must be clean and dry, away from direct sunlight and strong electromagnetic interference (EMI). Maintain ambient temperature between 10 °C and 35 °C, with relative humidity no higher than 80%, as environmental fluctuations will affect measurement precision.
-11-300x233.jpg "Take eingt minutes to learn tips for using an Intelligent Fully Automatic Vickers Hardness Tester 4")
II. Parameter Setting
- Power-on
Connect the power cable and power on the uVicky-AI tester. Wait for the unit to complete self-check and initialization; the touchscreen will load the main operating interface and system status data.
- Test Parameter Configuration
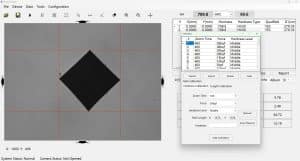
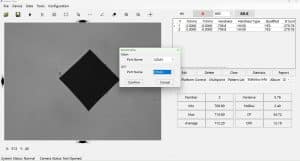
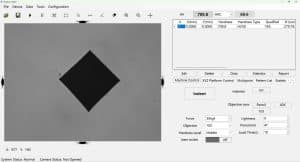
Adjust test parameters on the touchscreen according to actual testing demands:
- Select a Vickers hardness grade: standard options include HV0.05, HV0.1, HV0.2, HV0.3, HV0.5, HV1, HV2, HV3, HV5 and HV10. Choose a suitable grade based on specimen material and hardness range.
- Set dwell time (typically 10–15 seconds). Adjust the value appropriately for special materials per industry standards or testing experience.
- Input coordinate positions for indentations. Under automatic test mode, multiple indentation coordinates can be preset; the instrument will execute tests sequentially along the programmed path.
- Instrument Calibration
To guarantee reliable readings, calibrate the tester with certified reference hardness blocks before formal testing. Place the standard block on the stage and run the calibration procedure as instructed. The system will automatically calculate and compensate for measurement offsets.
III. Test Operation
- Specimen Mounting
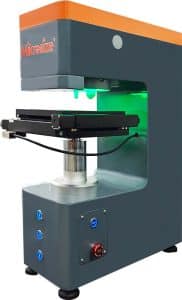
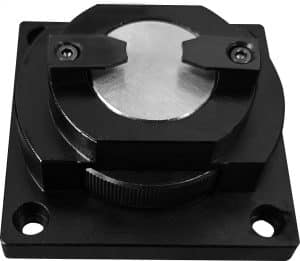
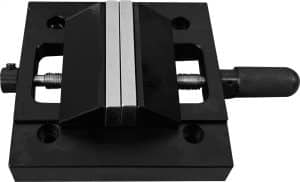
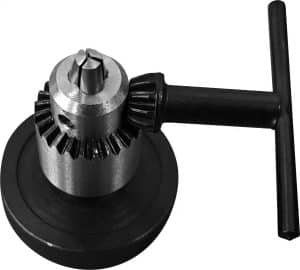
Secure the prepared specimen firmly on the stage. Turn the stage adjustment knobs to align the target indentation position directly under the indenter. Use dedicated fixtures to clamp irregularly shaped specimens and prevent shifting during testing.
- Start Test
After verifying all parameters and specimen positioning, tap the “Start Test” button on the touchscreen. The instrument will automatically load test force, form an indentation on the specimen surface, hold for the preset dwell time, then fully unload force. Operators shall monitor the whole process to ensure normal testing progress.
- Indentation Measurement
Once testing finishes, the built-in optical system captures indentation images and measures diagonal lengths via integrated AI algorithms. The unit automatically calculates Vickers hardness readings using the standard Vickers hardness formula and displays results on the touchscreen.
IV. Data Processing and Recording
- Data Review & Analysis
View hardness readings on the touchscreen and access auto-generated test reports containing timestamps, indentation coordinates and hardness values. For multi-point data analysis, utilize built-in statistical functions to compute mean value and standard deviation.
- Data Storage & Export
The uVicky-AI tester supports local onboard storage of all test records. Export data to external media such as a USB drive for later archiving; exported files are saved in Excel format for further off-line analysis.
- Record-Keeping & Reporting
Log all critical test information on physical or digital records, including specimen details, test parameters and hardness readings. Compile formal test reports as needed, covering test objectives, methodology, results and conclusions to support laboratory research, manufacturing inspection and quality assurance.
V. Post-test Procedures
- Power-off
After all testing tasks are complete, tap the “Shutdown” button on the touchscreen to cut power to the instrument. Confirm all data is saved and exported beforehand to avoid data loss.
- Equipment Cleaning
Remove the specimen and wipe the stage with a lint-free cloth to clear dust and debris. If stains appear on the indenter or optical lenses, clean them with specialized optical cleaning supplies to keep the instrument in optimal condition.
- Routine Maintenance
Carry out regular maintenance on the uVicky-AI tester: inspect mechanical assemblies for looseness and replenish lubricant when necessary; perform periodic calibration to sustain measurement accuracy. Follow all requirements specified in the operation and maintenance manuals to extend service life and maintain stable long-term performance.
-150x150.jpg)